
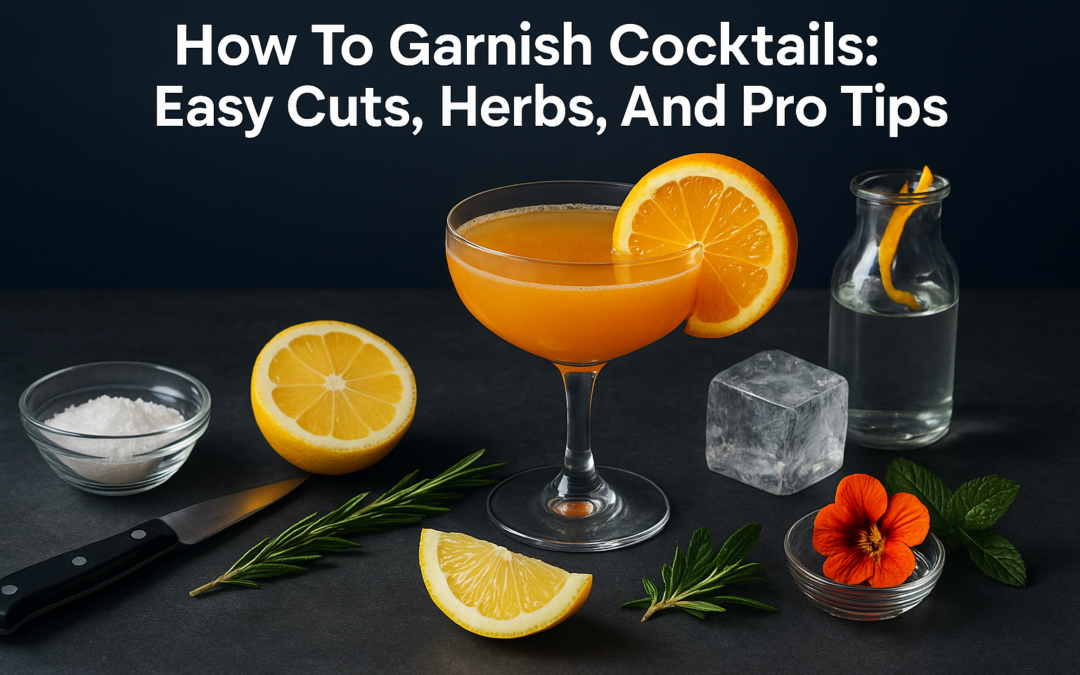
A great cocktail earns its first impression before anyone takes a sip. The garnish, whether it’s a simple citrus twist or a sprig of fresh rosemary, tells you something about the drink and the care behind it. At La Dolce Vita Cucina, our bar team in Chicago’s Portage Park neighborhood treats every cocktail as a small act of hospitality, and knowing how to garnish cocktails is a big part of that. It’s a skill that translates directly to your home bar, too.
You don’t need professional tools or rare ingredients to pull this off. A sharp knife, a few fresh herbs, and some basic technique will get you surprisingly far. This guide covers practical cuts for citrus, working with herbs and edible flowers, and the kind of finishing touches we use at our own bar during Happy Hour and dinner service. Whether you’re prepping drinks for a party or just want your Friday night Old Fashioned to look the part, you’ll walk away with everything you need.
What cocktail garnishes do and what you need
A garnish is not decoration for its own sake. It signals what’s in the glass and interacts with the drink in real, sensory ways. A citrus peel releases aromatic oils when you twist it over the surface. A sprig of mint adds fragrance with every sip. When you learn how to garnish cocktails properly, you stop thinking of the garnish as optional and start treating it as a working part of the recipe.
The role a garnish plays
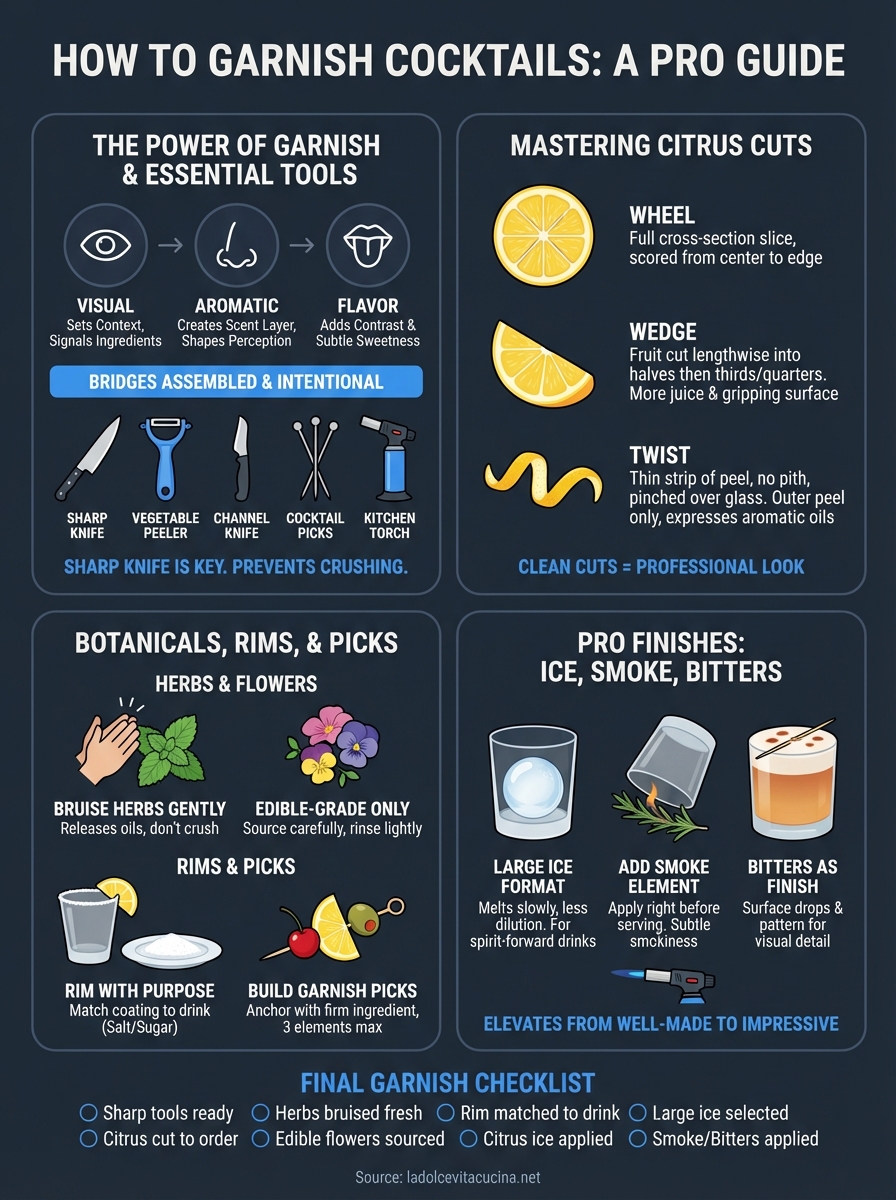
Garnishes work on three levels: visual, aromatic, and flavor. Visually, they give the drink context. A lime wedge on a Margarita tells you there’s citrus inside before you taste it. Aromatically, herbs and citrus peels create a scent layer that hits your nose before the liquid reaches your lips. That first impression shapes how you perceive the entire drink.
A garnish bridges the gap between a drink that looks assembled and one that feels intentional.
Flavor interaction is more subtle but real. A salted rim adds contrast to sweeter cocktails. A cherry at the bottom of a Manhattan bleeds a little sweetness into the final sip. These details compound, and together they make the difference between a drink that’s merely correct and one that’s genuinely memorable.
Tools you actually need
You don’t need a full professional bar kit to get started. A few reliable, purpose-specific tools cover almost every garnish you’ll ever make:
- Chef’s knife or paring knife: A sharp blade is non-negotiable. Dull knives crush citrus instead of cutting it cleanly.
- Cutting board: Use a small dedicated board to keep citrus oils away from your food prep area.
- Vegetable peeler or channel knife: These give you clean strips and twists from citrus skin without digging into the bitter white pith.
- Cocktail picks or skewers: For spearing olives, cherries, or layered fruit combinations.
- Small kitchen torch: Optional, but practical for caramelizing a citrus peel or adding a smoke element.
- Fine mesh strainer: Keeps pulp out when you’re working with fresh juice alongside your garnish prep.
A sharp knife is the single most important tool on that list. Poor cuts damage the texture and appearance of your garnish before it ever touches a glass, so investing in one good blade and keeping it honed is worth it.
Ingredients to keep on hand
Your ingredient list depends on what you’re making, but a solid base stock covers most classic and modern cocktails. Here’s a practical starting point:
| Ingredient | Common Use |
|---|---|
| Lemons and limes | Wheels, wedges, twists |
| Oranges | Peels, half-wheels, flamed twists |
| Fresh mint | Mojitos, Juleps, highballs |
| Fresh rosemary | Spirit-forward and gin cocktails |
| Cocktail cherries | Manhattans, Sours |
| Green olives | Martinis |
| Edible flowers | Spritzes, champagne cocktails |
| Coarse salt and sugar | Rims |
Keep lemons, limes, and fresh mint stocked at all times. Those three ingredients let you garnish the majority of popular cocktails without any additional shopping. For specialty nights or planned events, build out the list based on your specific drink menu rather than buying everything at once and letting it go to waste.
Nail the classic citrus garnishes
Citrus is the foundation of how to garnish cocktails at any skill level. Lemons, limes, and oranges give you the most versatile ingredients behind the bar, and three basic cuts will handle the vast majority of drinks you’ll ever make. Once you know the difference between a wheel, a wedge, and a twist, you can apply the right garnish quickly and consistently every time.
Cut wheels and wedges cleanly
A wheel is a full cross-section slice cut straight through the fruit, usually about a quarter-inch thick. To make one, cut off both ends of the citrus first, then slice straight across the middle. Score a small cut from the center to the edge so you can slide it onto the rim of the glass. Wheels work well on Margaritas, Gin and Tonics, and any highball where you want a clean, visible citrus presence.
A wedge gives you more juice and a gripping surface for the drinker. Cut the fruit in half lengthwise, then cut each half into thirds or quarters depending on the size of the fruit. Remove the seeds with the tip of your knife. Wedges belong on drinks like Caipirinha, Tom Collins, or anything where the drinker will squeeze citrus in themselves before sipping.
The cleaner your cut, the more professional the drink looks, and a sharp knife is the only thing standing between a clean edge and a crushed one.
Make a proper citrus twist
A twist is cut from the outer peel only, not the fruit itself. Use a vegetable peeler or channel knife and pull a strip along the length of the citrus, angling to avoid as much white pith as possible. Pith adds bitterness, so the thinner you cut, the better.
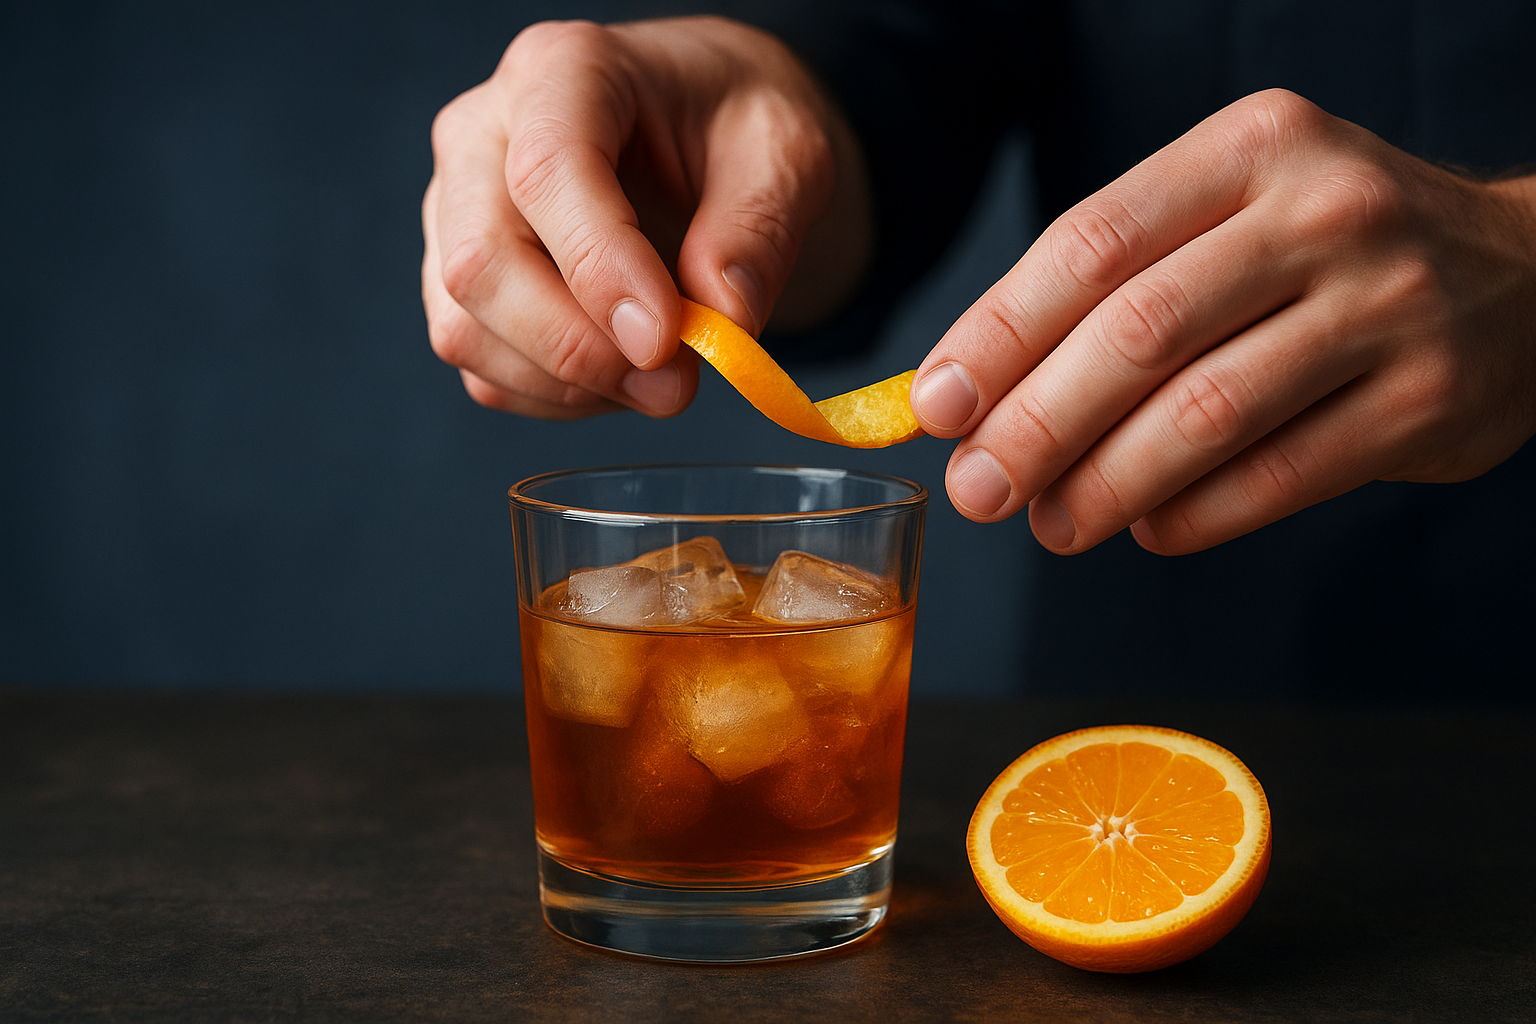
Hold the strip skin-side down over the glass and pinch both ends to express the oils directly onto the surface of the drink. Then run the peel around the rim and drop it in or drape it over the edge. Twists are the standard finish on a Martini, Negroni, or Old Fashioned and add a sharp aromatic layer that changes how the drink smells and tastes from the first sip.
Garnish with herbs, flowers, and aromatics safely
Herbs and edible flowers bring fragrance and visual texture that citrus alone can’t match. When you learn how to garnish cocktails with botanicals, you add a sensory dimension that makes the drink feel more alive. The key is knowing which plants are safe, how to prep them, and how to use them without overwhelming the glass.
Work with fresh herbs the right way
Fresh herbs release their oils through gentle bruising, not aggressive crushing. Hold a mint sprig between both palms and give it a single firm clap before placing it in the drink. This technique opens the aromatic compounds without shredding the leaves, which keeps the garnish looking clean while still delivering scent with every sip.
Bruising a herb releases its oils into the air directly above the glass, which means the drinker smells it before the drink even reaches their mouth.
Rosemary works best in spirit-forward cocktails like gin and tonic or a whiskey sour variation. Thyme pairs well with citrus-forward drinks. Basil adds a slightly sweet, peppery note to cocktails built with strawberry or peach. Trim the stem cleanly and remove any yellowed or wilted leaves before serving. The garnish should look intentional, not foraged.
Choose edible flowers and aromatics safely
Not every flower belongs near a drink. Edible-grade flowers include lavender, pansies, violets, nasturtiums, and hibiscus. Before using any flower as a garnish, confirm it is sold specifically as food-grade and grown without pesticides. Flowers from a florist or standard garden center are not safe to use on food or drinks.
Source edible flowers from a specialty grocery store or farmers market where vendors can confirm their growing practices. Rinse them lightly under cold water and pat dry before placing them on the rim or floating them on the surface. For lavender specifically, a single small sprig goes a long way because the scent intensifies once it sits near a spirit. Use it sparingly and let it complement the drink rather than compete with it.
Add crunch and color with rims, picks, and fruit
Rims, picks, and fruit slices are some of the most practical tools in how to garnish cocktails at home or behind a bar. They add texture, color, and visual weight to a glass before any liquid is poured, and they’re faster to execute than most people expect. The trick is matching the garnish type to the drink’s flavor profile rather than just reaching for whatever is nearby.
Rim your glass with purpose
A rimmed glass works best on drinks with a strong sweet or sour backbone, like Margaritas, Sidecars, or spicy mezcal cocktails. The process is simple: pour your coarse salt, sugar, or spice blend onto a small flat plate. Rub a cut lemon or lime wedge around the outer edge of the rim only, then press the glass straight down into the coating and rotate it once. Keep the coating on one side only if you want to give your guests the option to drink with or without it.
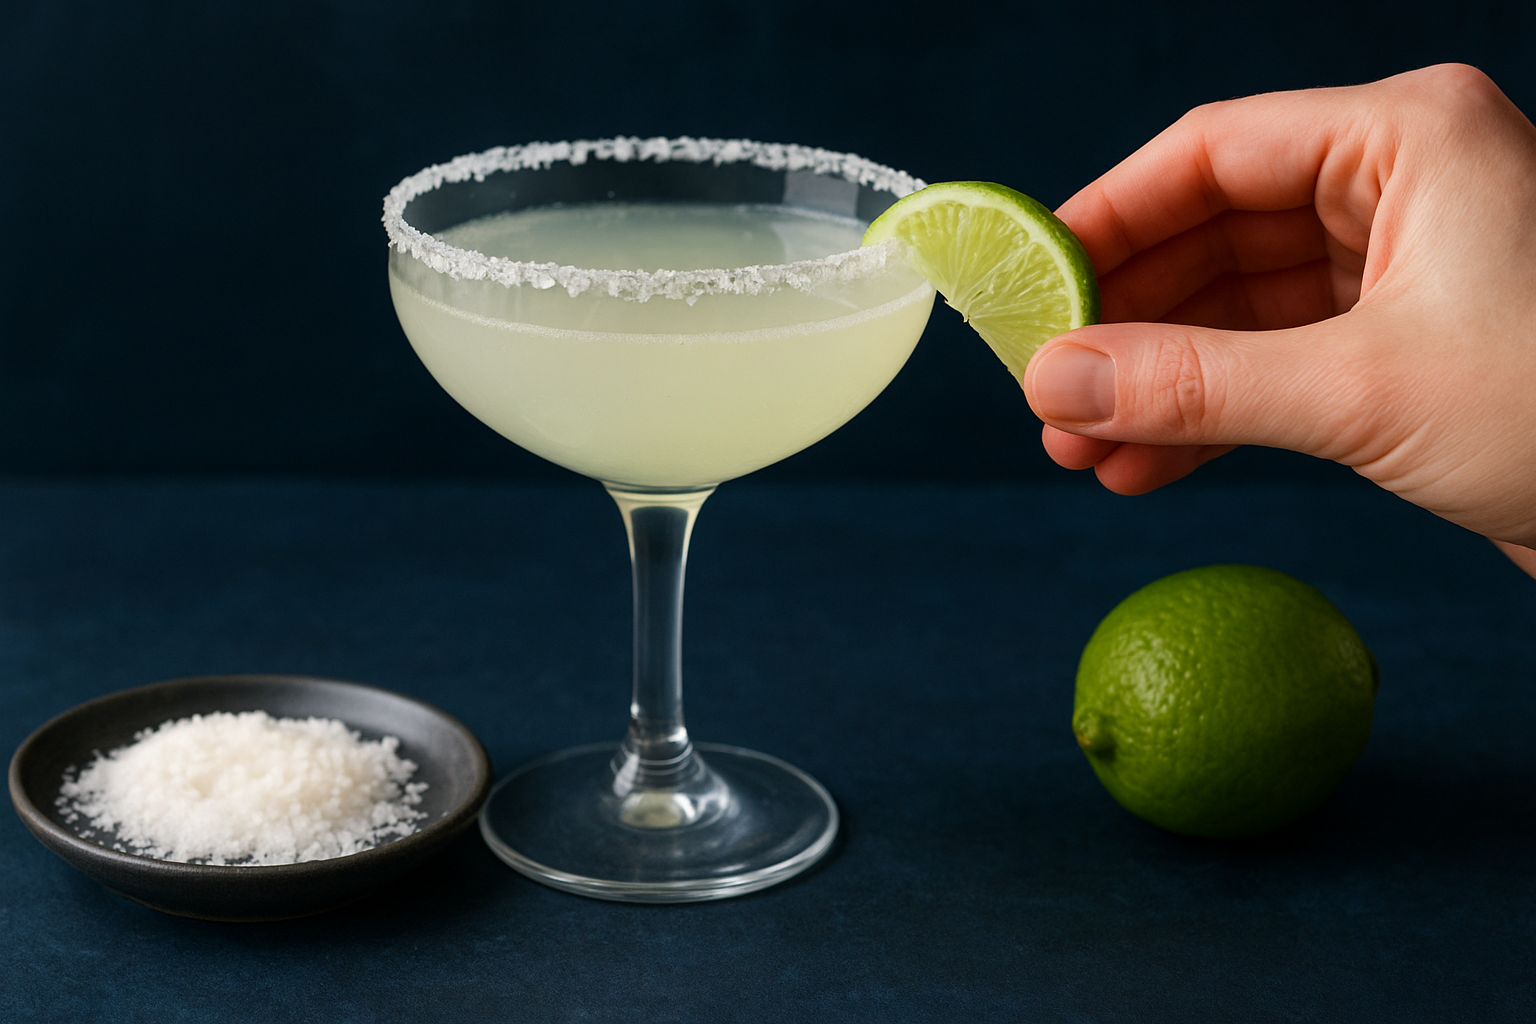
A half-rim is a professional standard because it respects the drinker’s preference without skipping the visual detail entirely.
You can customize the coating to fit the drink. Chili-lime salt works well on Micheladas and spicy cocktails. Toasted coconut pairs with tiki-style drinks. Fine sugar suits champagne cocktails or anything built with elderflower liqueur. Keep each mix in a labeled container so you can pull them quickly during service.
Build garnish picks that hold together
Picks let you combine multiple garnish elements into a single skewer that balances across the rim or sits inside the glass. A standard combination includes one cocktail cherry, one citrus half-wheel, and one olive or fresh herb sprig depending on the drink’s style. Thread the firmest ingredient onto the pick first so it acts as an anchor, then add the softer elements above it.
For Martinis, a three-olive pick or a single large green olive is the standard. For Sours and spirit-forward cocktails, layer a cherry with a lemon half-wheel. Keep picks to three elements maximum to avoid a cluttered look that overwhelms the glass.
Use ice, smoke, and bitters for a pro finish
Ice, smoke, and bitters are the final layer in how to garnish cocktails at a professional level. Most home bartenders skip these elements because they seem complicated, but each one is straightforward once you understand the basic technique. Used correctly, they elevate a drink from well-made to genuinely impressive without requiring expensive equipment.
Choose and shape ice intentionally
Ice is an active ingredient, not filler. Large format ice, like a single two-inch cube or a clear sphere, melts more slowly than standard cubes, which means your drink stays cold longer without diluting as fast. Use large cubes for spirit-forward cocktails like Negronis, Old Fashioneds, and Mezcal Sours. Crushed ice dilutes quickly and creates a colder, more refreshing effect that suits highballs, Juleps, and tiki drinks.
You can buy large ice cube molds online and fill them with filtered water for clearer results. Clarity in ice comes from slow, directional freezing, which pushes air bubbles to one end. Silicone molds that insulate on five sides and leave one face exposed produce noticeably clearer results than standard plastic trays.
Add smoke and bitters as finishing layers
Smoke works best when you apply it right before serving. Use a small kitchen torch to char a piece of rosemary, a cinnamon stick, or a wood chip briefly, then trap the smoke under an overturned glass for ten to fifteen seconds before building the drink inside. This technique adds a subtle smokiness that enhances whiskey and mezcal cocktails without overpowering the other flavors.
Applied at the right moment, smoke becomes a scent that greets the drinker before the first sip, which makes the drink feel like an experience rather than just a beverage.
Bitters work as a finishing garnish on the surface of a drink. Add two or three drops of aromatic bitters to the foam on a Whiskey Sour, then draw a toothpick through them to create a simple pattern. This technique takes under ten seconds and produces a visual detail that signals care and precision.
Final garnish checklist
Now you have a complete picture of how to garnish cocktails, from basic citrus cuts to smoke and bitters. Before you start, run through this quick checklist to make sure your setup is solid:
- Sharp knife and cutting board ready
- Citrus washed, trimmed, and cut to order
- Fresh herbs bruised just before serving
- Edible flowers sourced from a food-grade supplier
- Rim coating matched to the drink’s flavor profile
- Large ice format selected for spirit-forward drinks
- Bitters or smoke applied as a finishing layer
Every element on that list takes under a minute to prepare, and together they produce drinks that feel considered rather than assembled. The next time you host at home, these details are what guests remember longest after the night ends.
If you want to see what intentional cocktail service looks like in person, book a table at La Dolce Vita Cucina and let our bar team show you what a well-garnished drink actually feels like.