
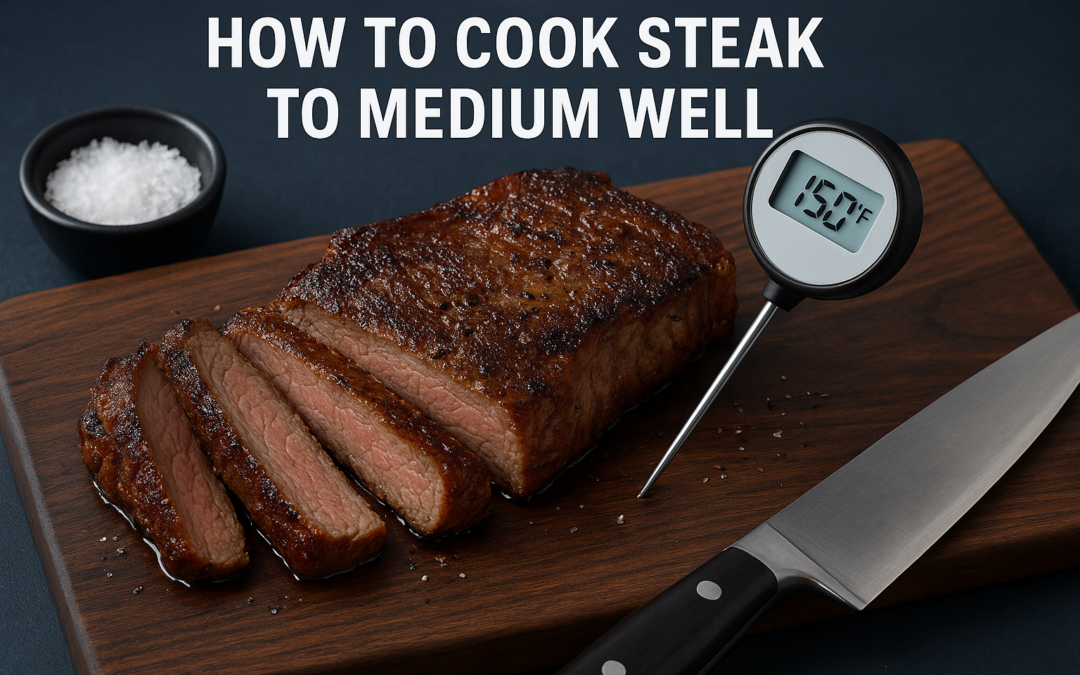
Medium well is one of the most requested doneness levels, yet it’s also one of the easiest to overshoot. Knowing how to cook steak to medium well means hitting that narrow window where the center is mostly gray-brown with just a hint of faint pink, firm to the touch but still carrying enough juice to keep every bite satisfying. Miss it by a couple of minutes or a few degrees, and you’ve got a well-done puck. That precision matters, whether you’re working a cast-iron skillet at home or firing up the grill on a weekend.
At La Dolce Vita Cucina in Chicago’s Portage Park neighborhood, we cook steaks, including our 16oz Ribeye, to exact temps every single service. We know what it takes to nail medium well consistently, and we’re sharing that knowledge here so you can do the same in your own kitchen.
This guide covers target internal temperatures (150–155°F), timing per side for different methods, and the practical tips that actually make a difference. Pan-searing, grilling, oven-finishing, we’ll walk through each approach so you can pick what works best for your setup and get a medium-well steak right every time.
Medium-well steak temp, color, and safety
When you’re learning how to cook steak to medium well, the most important number you need to memorize is the internal temperature. A meat thermometer is not optional; it’s the only tool that removes guesswork and tells you exactly where your steak stands. Understanding the target range, what it looks like on the inside, and what it means for food safety will keep you from either undercooking or drying out the meat before it ever hits the plate.
The target internal temperature
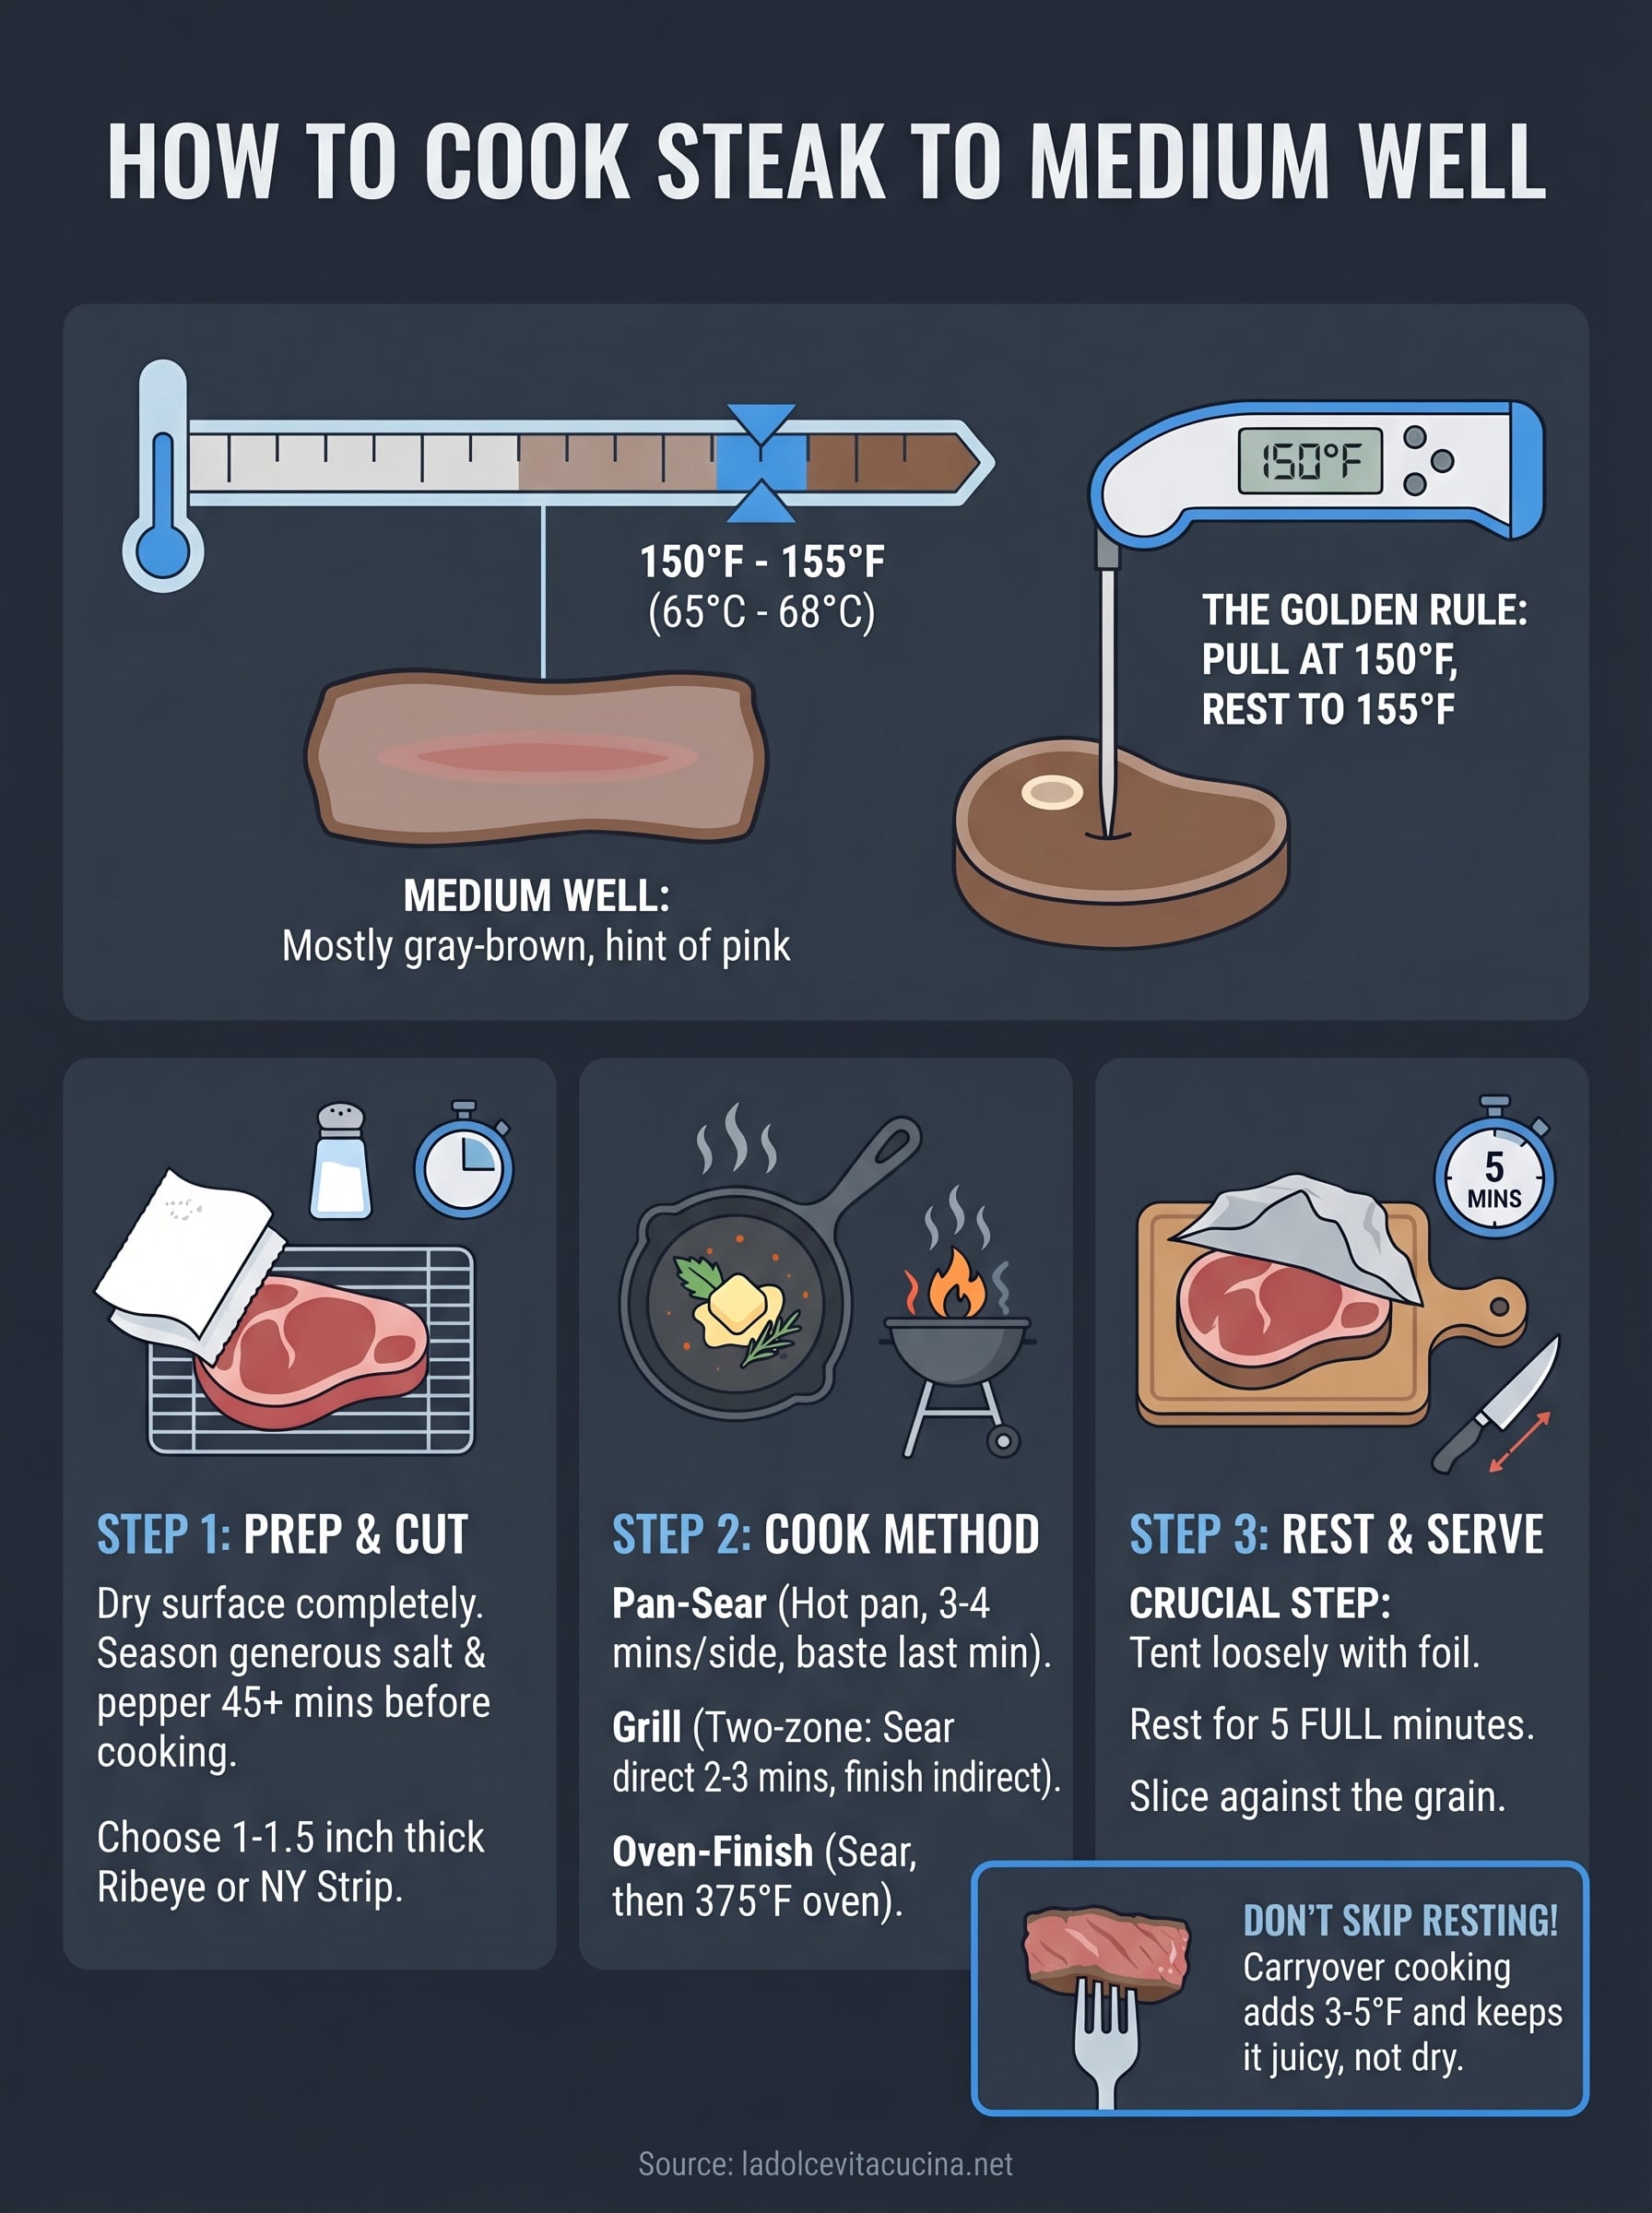
Medium well means an internal temperature between 150°F and 155°F (65°C to 68°C). Pull the steak off the heat when it reads 150°F, because carryover cooking will push it another 3 to 5 degrees during the rest period. If you wait until the thermometer reads 155°F while the steak is still in the pan, you’ll likely land at 158°F to 160°F after resting, which crosses into well-done territory.
Pull your steak at 150°F, rest it for 5 minutes, and let carryover cooking handle the final climb to 155°F.
Insert an instant-read thermometer into the thickest part of the steak, making sure the probe tip doesn’t touch bone, fat, or the pan surface. Here’s a quick reference table so you can see exactly where medium well falls relative to other doneness levels:
| Doneness | Pull Temp | Final Resting Temp |
|---|---|---|
| Rare | 120°F | 125°F |
| Medium Rare | 130°F | 135°F |
| Medium | 140°F | 145°F |
| Medium Well | 150°F | 155°F |
| Well Done | 160°F | 165°F |
What medium-well looks like inside
When you slice a properly cooked medium-well steak, you’ll see a mostly gray-brown interior with a faint, narrow blush of pink at the very center. That pink won’t be vivid or wide; it’s a thin band that signals the steak retained some moisture despite reaching high internal temperatures. The texture will be noticeably firm throughout, with far less juice running onto the cutting board compared to medium or medium-rare.
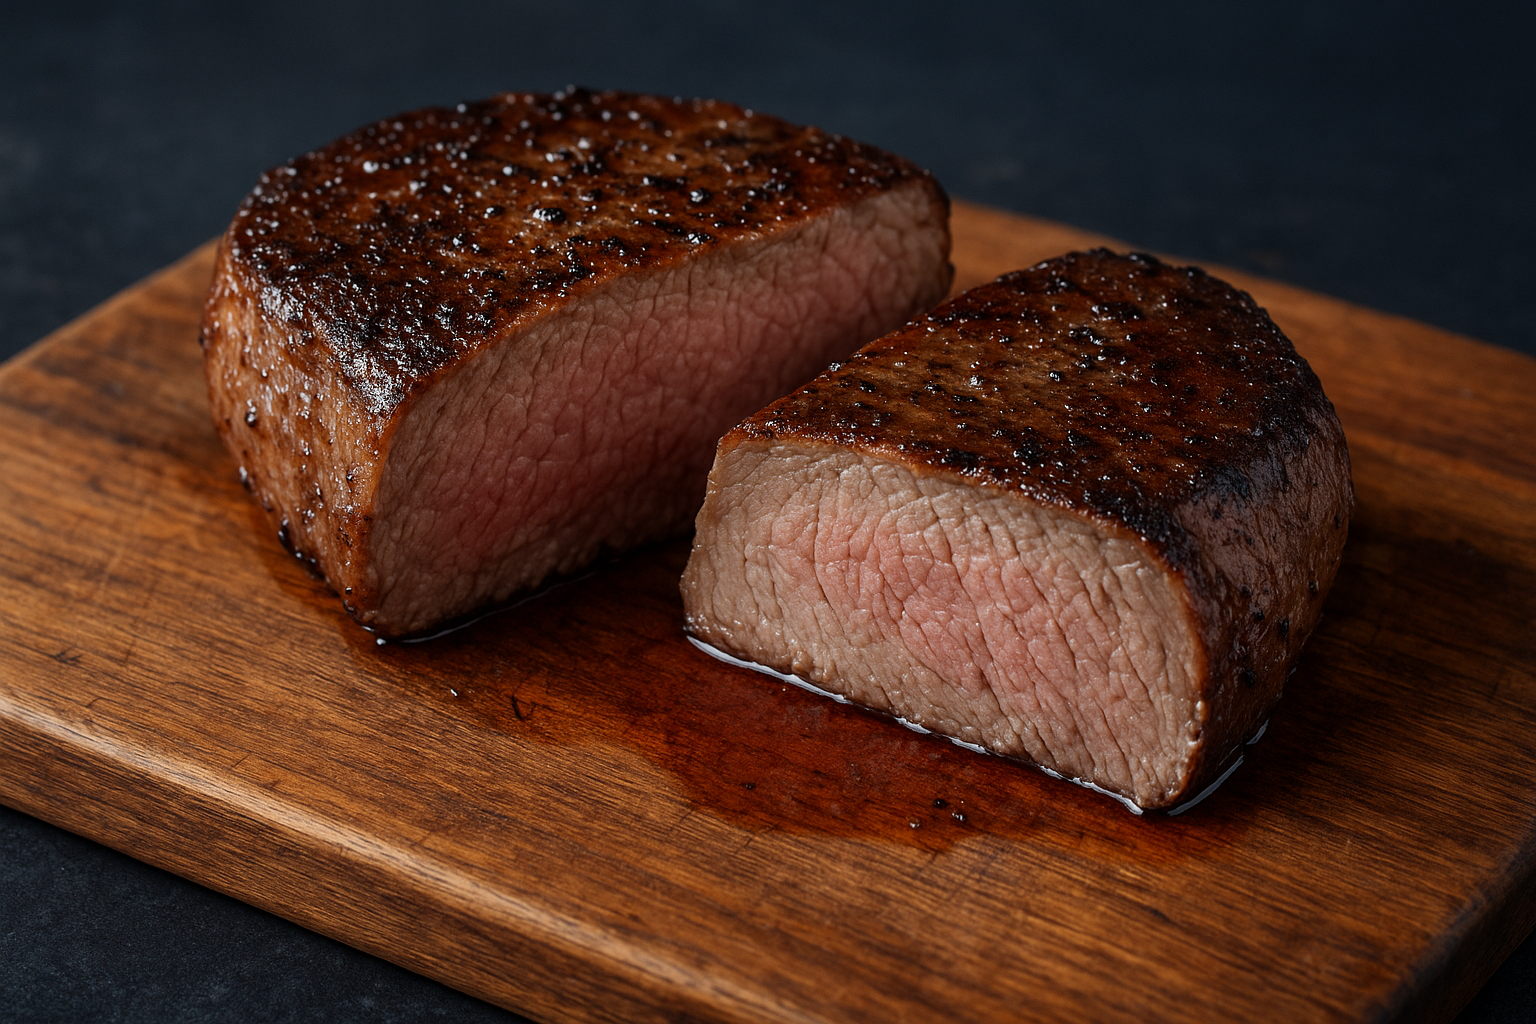
Color alone is not a reliable indicator, which is why temperature always takes priority. If you cut in and find a wide, bright pink center, the steak needs more time. If you see zero pink and a dry, uniform gray throughout, the steak has crossed into well-done. Use color as a secondary confirmation, never as your primary gauge.
Food safety at medium-well
From a food safety standpoint, medium well is one of the most responsible doneness levels you can choose for beef steak. According to the USDA Food Safety and Inspection Service, whole muscle beef steaks need to reach a minimum internal temperature of 145°F followed by a 3-minute rest to be considered safe. Medium well, at 150°F to 155°F, clears that threshold comfortably.
Ground beef is a separate category entirely and requires 160°F throughout, so the guidelines above apply specifically to whole cuts like ribeye, strip loin, sirloin, and similar steaks. If you’re cooking for someone who is immunocompromised, pregnant, or elderly, medium well is a practical and flavorful choice that satisfies both safety standards and a quality dining experience without pushing the steak all the way into dry, well-done territory.
Step 1. Choose the right cut and thickness
The cut you start with shapes every decision that follows. Knowing how to cook steak to medium well is only half the equation; the other half is picking a steak that can actually handle the heat long enough to reach 150°F to 155°F without drying out. Lean cuts lose moisture quickly at higher internal temperatures, so selecting the right starting material before you ever fire up the stove puts you in a much stronger position from the start.
Cuts that hold up at medium well
Not every steak is built for medium well. Ribeye is the top pick because its intramuscular fat keeps the meat moist even as it approaches 155°F. Strip loin, commonly sold as New York strip, is a close second, offering a firmer texture with solid marbling throughout. Sirloin and flat iron are viable budget-friendly options that still carry enough fat to stay reasonably juicy at medium-well temps. Steer clear of leaner cuts like flank steak, skirt steak, or filet mignon for this doneness level; they dry out quickly once you push past 145°F and end up with a tough, chalky texture that no amount of resting will fix.
Ribeye is the safest bet for medium well because its fat content acts as a natural buffer against moisture loss during the longer cook time.
Here’s a quick breakdown of common cuts and how they perform at medium-well temps:
| Cut | Marbling Level | Medium-Well Result |
|---|---|---|
| Ribeye | High | Juicy, tender, best choice |
| New York Strip | Medium-High | Firm, flavorful, solid choice |
| Sirloin | Medium | Acceptable, slightly firmer |
| Flat Iron | Medium | Works well, budget-friendly |
| Filet Mignon | Low | Dry at medium well, avoid |
| Flank / Skirt | Very Low | Tough and dry, avoid |
Why thickness matters more than you think
Thickness directly controls how much time you have to build a proper crust on the outside before the center climbs to 150°F. A steak thinner than 1 inch heats through so fast that by the time you develop any real sear, the interior has already overshot your target temperature. Aim for steaks between 1 inch and 1.5 inches thick for medium well; that range gives you enough cooking window to land a solid crust and the right internal temp at roughly the same moment.
If your steak runs thicker than 1.5 inches, plan on an oven-finishing method, which Step 4 covers in detail. For cuts under 1 inch, drop the heat slightly and check the thermometer early, because the margin for error narrows fast at that thickness.
Step 2. Prep the steak for a better crust
A well-prepped steak forms a better crust, and a better crust means more flavor in every bite. Most of the work here happens before the steak ever touches heat, so spending five extra minutes at this stage pays off significantly once you start cooking. Whether you’re working out how to cook steak to medium well on a skillet or the grill, surface preparation determines how well the Maillard reaction works in your favor.
Dry the surface completely
Moisture is the enemy of a good sear. Any water sitting on the surface will steam instead of sear when it hits a hot pan, leaving you with a gray, uneven crust rather than the deep brown bark you’re aiming for. Pull the steak out of its packaging and pat every surface thoroughly with paper towels until no visible moisture remains. This one step makes a measurable difference in crust quality, so don’t rush it.
For the best results, place the patted-dry steak on a wire rack set over a sheet pan and leave it uncovered in the refrigerator for at least 1 hour, up to overnight. The cold, dry air pulls additional surface moisture out of the meat, giving you an even drier exterior before you season it. This method, called an air-dry rest, is one of the easiest upgrades you can make to your steak prep routine.
Season early and season generously
Salt does two things when applied ahead of time: it draws moisture to the surface, then reabsorbs it back into the meat along with dissolved proteins that deepen flavor. Apply kosher salt and freshly cracked black pepper at least 45 minutes before cooking so this process can complete fully. Salting less than 15 minutes before cooking means surface moisture won’t reabsorb, and you’ll lose it in the pan instead.
Salt your steak at least 45 minutes before cooking for deeper flavor and a better crust, not right before it hits the heat.
Use roughly 1 teaspoon of kosher salt per pound of steak, distributing it evenly across all surfaces including the sides. Add freshly cracked black pepper just before cooking since extended exposure to heat can turn it bitter. Skip sweet spice rubs or sugar-based blends for medium well; at these temperatures, sugars burn before the interior finishes cooking.
Oil the steak, not the pan
Coating the steak directly with a thin layer of neutral, high-smoke-point oil, such as avocado oil or refined vegetable oil, rather than oiling the pan gives you more controlled, even coverage. Brush or rub roughly half a teaspoon of oil per side across the surface right before it hits the heat. This helps the seasoning adhere, promotes even browning, and prevents oil from pooling and smoking excessively in the pan.
Step 3. Cook it to medium well in a pan
Pan-searing is the most reliable indoor method for how to cook steak to medium well because it gives you direct control over heat and lets you monitor the steak closely at every stage. A cast-iron skillet is the best tool for this job since it holds heat evenly and builds the kind of crust that a thinner stainless pan simply cannot match. Get everything ready before you start; once the pan is hot, the process moves fast.
Get the pan hot enough
Preheat your cast-iron skillet over high heat for at least 3 minutes before the steak goes in. The pan needs to be hot enough that a drop of water evaporates instantly on contact. If the pan isn’t fully preheated, the steak will steam on contact rather than sear, and you’ll lose the crust you worked to set up in Step 2. A properly heated pan produces an immediate, loud sizzle the moment the steak touches the surface.
A cold pan is the single most common reason home cooks end up with a gray, unappealing crust instead of a deep brown sear.
The searing sequence
Place the oiled steak in the pan and resist the urge to move it for the first 3 to 4 minutes. Pressing down on the steak or shifting it early breaks contact with the hot surface and disrupts crust formation. After 3 to 4 minutes, flip once and sear the second side for another 3 to 4 minutes. Use this timing reference for a 1 to 1.5 inch steak:
| Steak Thickness | Time Per Side | Expected Final Temp After Rest |
|---|---|---|
| 1 inch | 3 minutes | ~155°F |
| 1.25 inches | 3.5 to 4 minutes | ~155°F |
| 1.5 inches | 4 to 4.5 minutes | ~155°F |
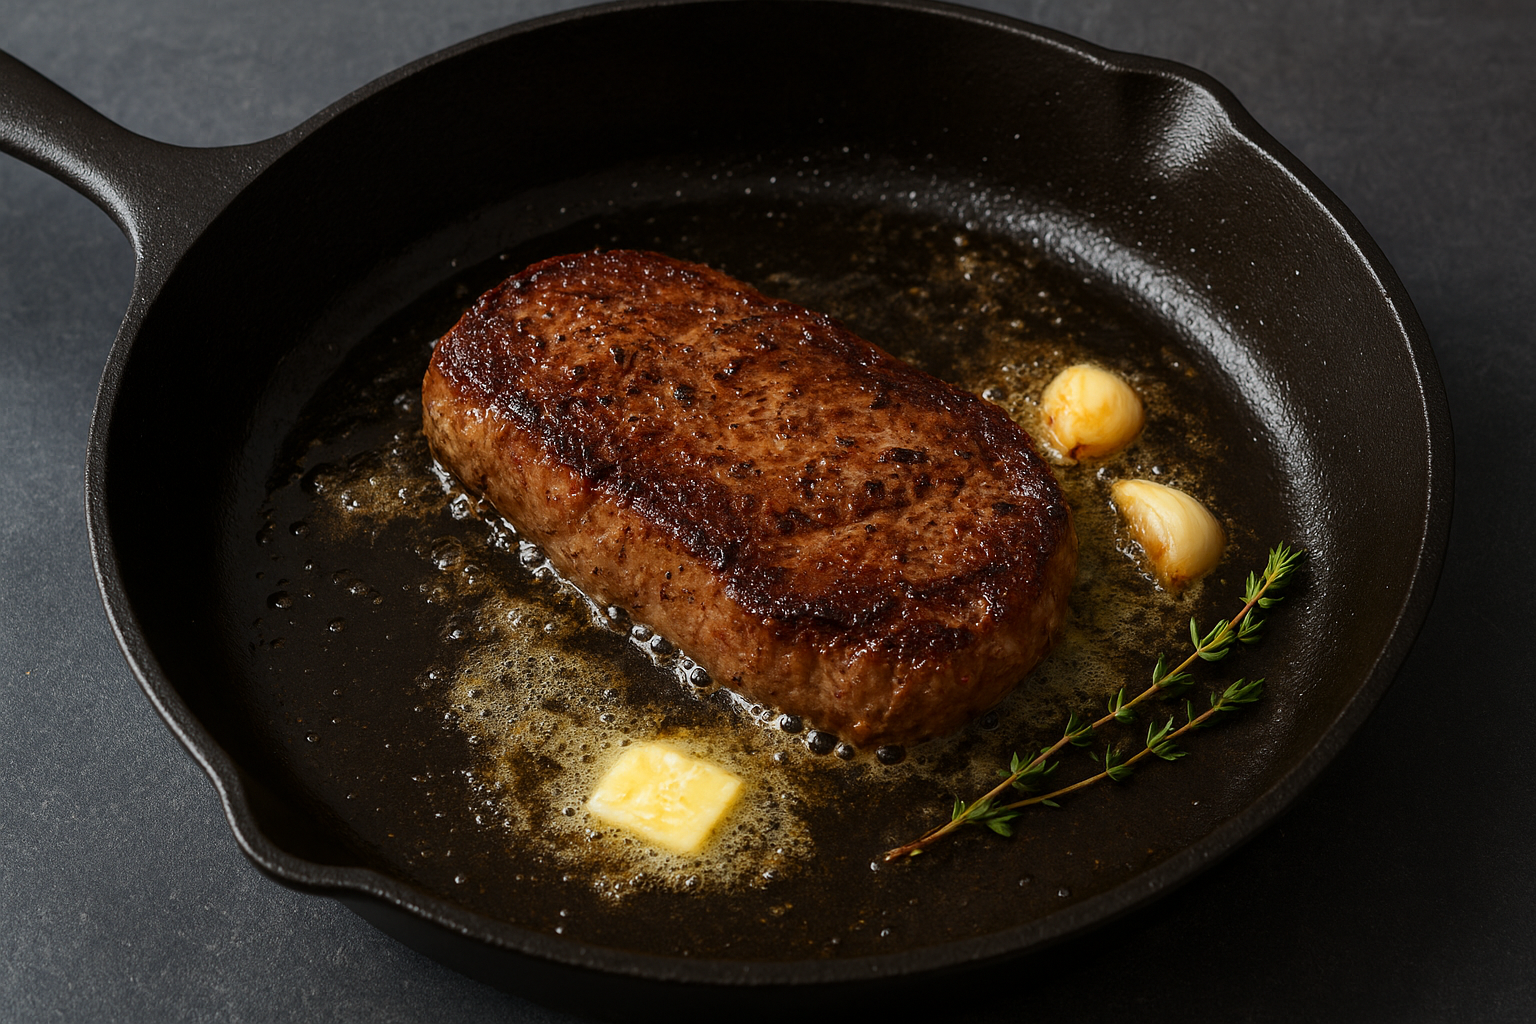
After flipping, add 1 tablespoon of unsalted butter, 2 crushed garlic cloves, and a few thyme sprigs to the pan. Tilt the pan slightly and spoon the melted butter over the steak repeatedly during the final 60 to 90 seconds of cooking. This basting step adds flavor and helps the surface finish evenly.
Check the temp and rest
Pull the steak at 150°F, transfer it to a cutting board, and tent it loosely with foil. Let it rest for 5 full minutes so carryover cooking brings the center to 155°F and the juices redistribute through the meat. Cutting in too early pushes all that moisture out onto the board instead of keeping it in the steak.
Step 4. Grill or oven methods plus timing chart
The pan method works great, but it’s not your only option for how to cook steak to medium well. Grilling adds a smoky char that a skillet simply cannot replicate, and oven-finishing solves the problem of thick steaks that need more time in the heat than any stovetop method can safely provide. Both approaches still rely on the same internal temperature target of 150°F, so keep your thermometer close regardless of which method you choose.
Grilling to medium well
Set up your grill for two-zone cooking: one side with high direct heat and one side with lower indirect heat. Start the steak over direct heat to build the crust, then move it to the indirect side to bring the center up to temperature without burning the exterior. This two-zone setup is the most reliable way to hit 150°F on a grill without scorching the outside before the inside finishes.
Two-zone grilling gives you a sear zone and a finishing zone, which prevents the outside from overcooking while the interior catches up.
For a gas grill, set one burner to high and leave the adjacent burner on low or off. For charcoal, pile the coals on one side of the grill. Sear each side of the steak over direct heat for 2 to 3 minutes, then slide it to the cool side and close the lid. Check the internal temperature every 2 minutes until the probe reads 150°F, then rest the steak for 5 minutes before slicing.
Oven-finishing thicker cuts
For steaks thicker than 1.5 inches, a reverse-sear or sear-then-oven method produces the most even results. Sear the steak in a cast-iron skillet over high heat for 2 minutes per side to lock in the crust, then transfer the entire skillet into a preheated oven at 375°F to finish cooking through to temperature. This approach gives thicker cuts the time they need to reach 150°F without overcooking the exterior.
Use this timing chart as your reference across both methods. These times assume a 1 to 1.5 inch steak and a resting period of 5 minutes after pulling:
| Method | Thickness | Direct/Sear Time | Indirect/Oven Time | Pull Temp |
|---|---|---|---|---|
| Grill (direct + indirect) | 1 inch | 2 to 3 min per side | 4 to 6 min indirect | 150°F |
| Grill (direct + indirect) | 1.5 inches | 2 to 3 min per side | 8 to 10 min indirect | 150°F |
| Oven finish (375°F) | 1 inch | 2 min per side | 6 to 8 min oven | 150°F |
| Oven finish (375°F) | 1.5 inches | 2 min per side | 10 to 14 min oven | 150°F |
Final pointers before you slice
You now have everything you need to know about how to cook steak to medium well with confidence. Pull at 150°F every time, rest the steak for a full 5 minutes under a loose foil tent, and let carryover cooking finish the job. Slicing too early is the most common mistake at this stage, and it costs you all the moisture that built up during the cook.
Two final reminders worth keeping: always slice against the grain to shorten muscle fibers and keep each bite tender, and use a sharp knife rather than sawing back and forth. A clean cut preserves texture in a way that a dull blade simply cannot.
If you’d rather let someone else handle the steak, come visit us at La Dolce Vita Cucina in Chicago’s Portage Park neighborhood. Our kitchen handles every cut to the exact temperature, every time.