
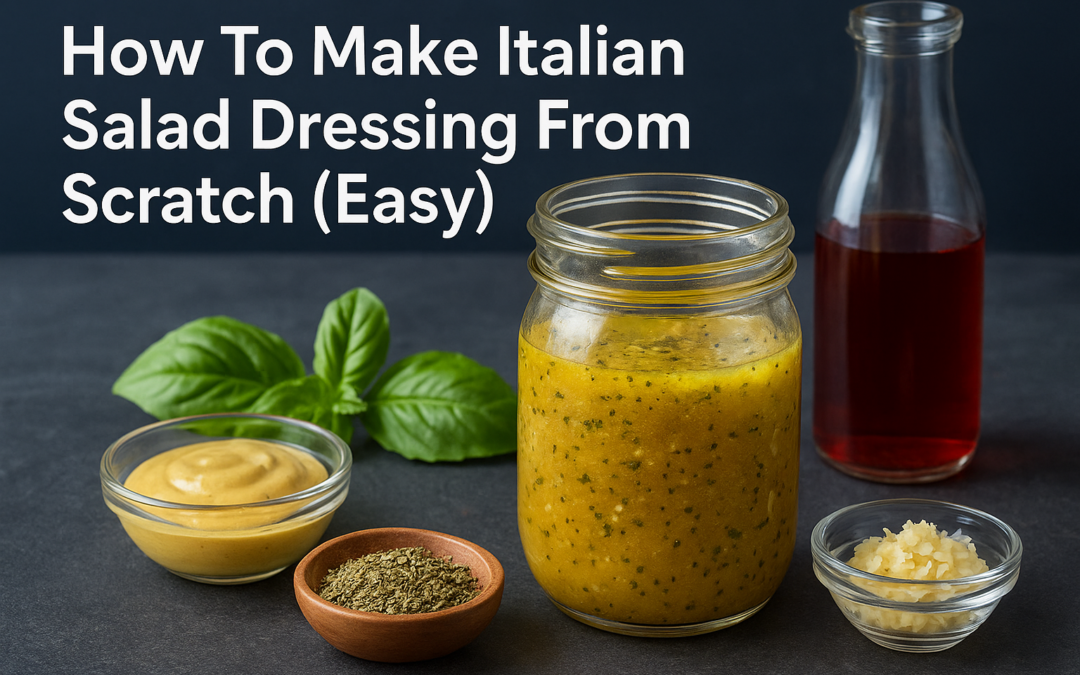
Store-bought Italian dressing gets the job done, but it doesn’t come close to the real thing. Once you learn how to make Italian salad dressing from scratch, that bottle in your fridge starts collecting dust. The homemade version is brighter, more flavorful, and takes about five minutes to throw together with ingredients you probably already have in your pantry.
At La Dolce Vita Cucina, our kitchen in Chicago’s Portage Park neighborhood runs on the same principle that guides good Italian cooking everywhere: fresh, simple ingredients done right beat shortcuts every time. That applies to a slow-braised ragu just as much as it applies to a basic salad dressing. Quality matters at every level of the plate.
This guide walks you through a straightforward recipe for classic Italian dressing, the ratios, the technique, and the variations that let you adjust it to your taste. Whether you’re dressing a simple garden salad or finishing a pasta salad for a cookout, you’ll have a reliable recipe you can memorize and make your own.
What you need and the basic ratios
Before you start mixing, you need two things: a short list of pantry staples and a solid understanding of the ratios that hold the dressing together. Most people who figure out how to make Italian salad dressing for the first time are surprised by how few ingredients are involved. The whole recipe leans on balance rather than quantity, which means getting the proportions right matters more than sourcing anything exotic or specialty.
The core ingredients
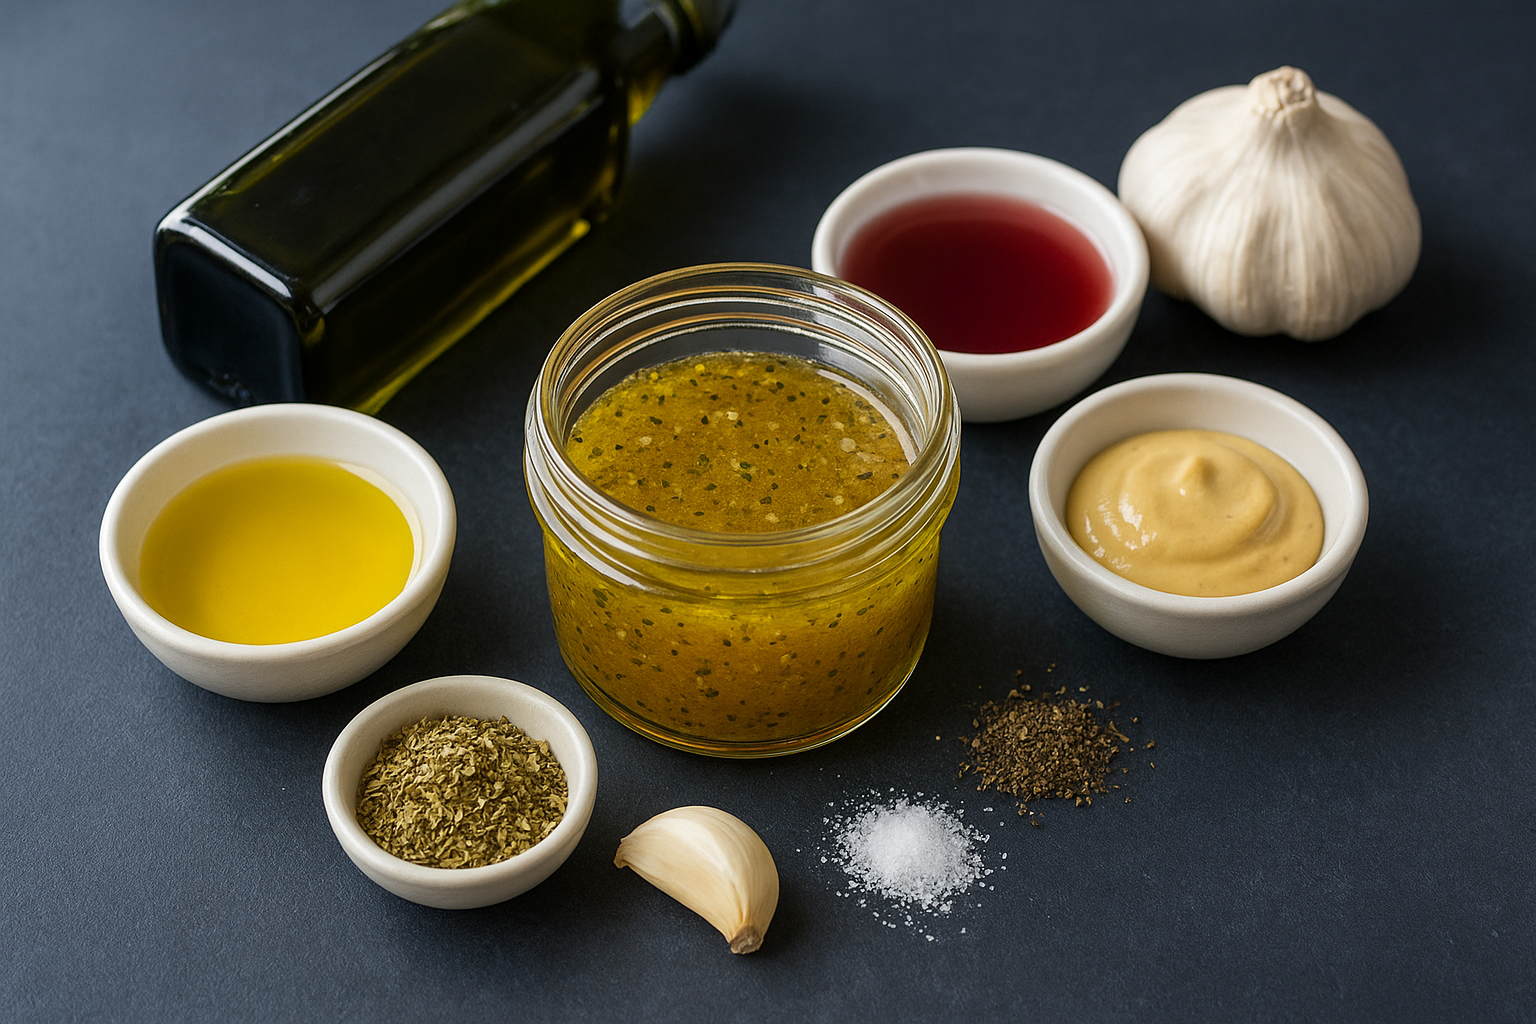
Every classic Italian dressing starts with the same foundation. You don’t need hard-to-find items or a trip to a specialty grocery store. Here’s what goes into a standard batch that makes about half a cup of dressing, enough to coat two large salads generously:
| Ingredient | Amount | Notes |
|---|---|---|
| Extra virgin olive oil | 6 tablespoons | Carries the primary flavor; use a quality bottle |
| Red wine vinegar | 2 tablespoons | White wine vinegar works as a substitute |
| Garlic | 1 clove, minced | Or 1/4 teaspoon garlic powder |
| Dried oregano | 1/2 teaspoon | Rub between your fingers before adding |
| Dried basil | 1/4 teaspoon | |
| Onion powder | 1/4 teaspoon | |
| Dijon mustard | 1/2 teaspoon | Acts as an emulsifier |
| Honey or sugar | 1/4 teaspoon | Balances the acidity |
| Salt | 1/4 teaspoon | Adjust after tasting |
| Black pepper | 1/8 teaspoon | Freshly ground preferred |
Fresh minced garlic gives you a sharper, more pronounced bite, while garlic powder delivers a milder, more evenly distributed flavor throughout the dressing. Either works well, and the choice comes down to personal preference and what you have available right now.
The oil-to-vinegar ratio
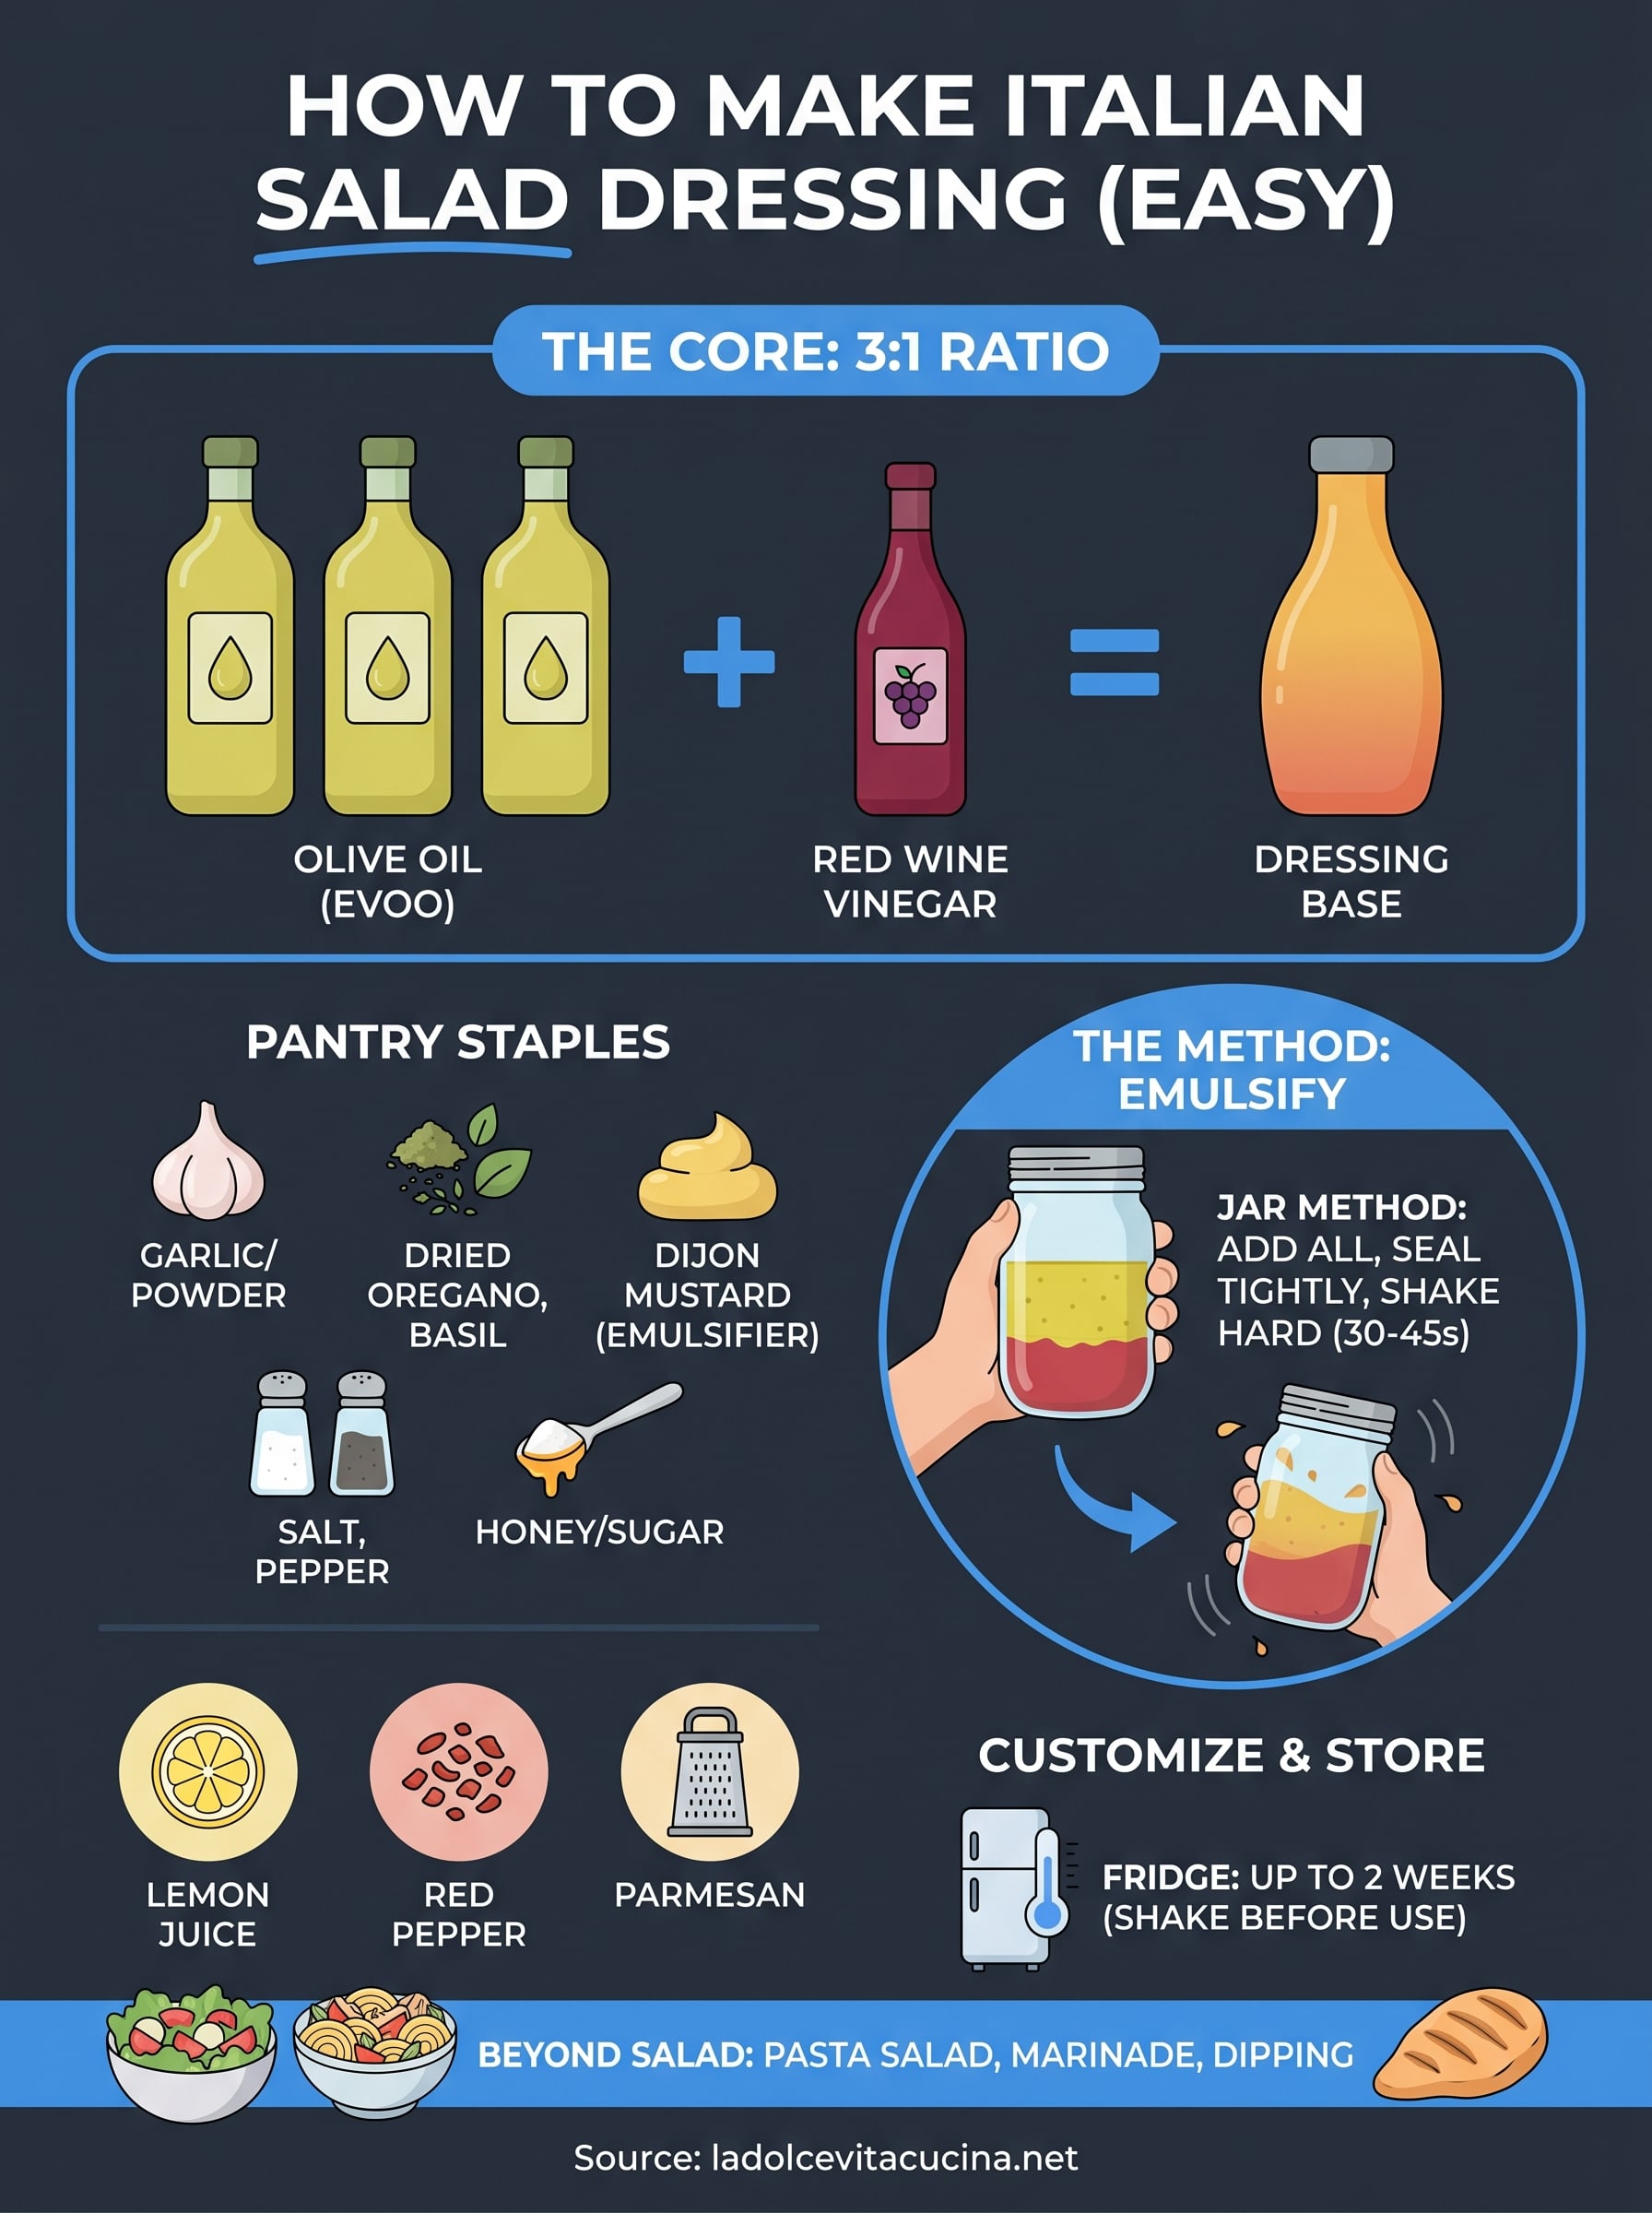
The ratio that holds Italian dressing together is 3:1, meaning three parts oil to one part vinegar. This is the standard across most vinaigrettes, and it produces a dressing that’s bold without being aggressively acidic. If you scale the recipe up or down, keep that 3:1 ratio intact and the flavor profile stays consistent every single time.
The 3:1 oil-to-vinegar ratio is the single most important number to memorize when making any vinaigrette from scratch.
Some people prefer a sharper dressing and drop to a 2:1 ratio. Others want it milder and push up to 4:1. Start at 3:1, taste the result, then shift the ratio in either direction based on what your palate tells you. Red wine vinegar is the traditional choice because it has the right level of acidity and depth to stand up to the oil without tasting thin or flat.
Ingredient quality and substitutions
Your olive oil selection directly affects the final result. Extra virgin olive oil is the right call here because it carries fruity, peppery notes that a standard vegetable oil or light olive oil simply can’t replicate. That said, if light olive oil is all you have on hand, the dressing still works fine.
For the vinegar, red wine vinegar is the traditional pick, but white wine vinegar gives a cleaner, slightly lighter outcome. Apple cider vinegar is another option if you want a hint of natural sweetness in the background. Avoid balsamic in this recipe since it shifts the flavor profile into something else entirely and overpowers the herbs. Keep the Dijon mustard in the mix because it helps the oil and vinegar stay blended longer rather than separating the moment you stop shaking the jar.
Step 1. Measure and prep ingredients
Good prep makes the mixing step faster and produces more consistent results. Before you combine anything, take two minutes to measure every ingredient and get your garlic minced so you’re not scrambling mid-recipe. This is one of the simplest parts of learning how to make Italian salad dressing, but rushing through it leads to off-balance dressing that you’ll need to correct after the fact.
Measure your liquids first
Pour your olive oil and red wine vinegar into separate measuring spoons before adding them to your jar or bowl. Measuring separately gives you a visual check on the ratio before anything hits the mixing vessel. If you measure directly into the jar and misjudge, you spend time fixing an imbalance that was easy to avoid.
Measuring liquids separately before combining them is the fastest way to nail the 3:1 ratio every single time.
Use a liquid measuring spoon rather than a dry one when handling the oil and vinegar. Dry spoons are accurate for solids but become unreliable for liquids when you try to pour without spilling, which wastes product and throws off your ratio.
Prep the garlic and herbs
Fresh garlic needs to be minced fine, not chopped rough. A rough chop leaves uneven pieces that hit different bites with very different intensity. Run your knife through the garlic until the pieces are as small as you can make them, or press the clove through a garlic press. If you’re using garlic powder instead, no prep is needed beyond measuring it out.
Your dried herbs benefit from a quick activation step before they go into the mix. Rub the oregano and basil between your fingers to break open the dried leaves and release their aromatic oils, which gives you noticeably better flavor in the finished dressing. Skipping this step won’t ruin the recipe, but it takes about five seconds and makes a real difference.
Set up your mixing vessel
Pick either a small mason jar with a tight lid or a mixing bowl with a whisk ready to go. The jar method is faster to use and easier to clean afterward. The bowl method gives you more control while whisking. Set all your measured ingredients next to your chosen vessel so the mixing step flows without interruption.
Step 2. Mix and emulsify the dressing
With everything measured and prepped, you’re ready for the part that ties it all together. Emulsification is what separates a well-made Italian dressing from a thin, separated mess that pools oil at the top. The goal is to get the oil and vinegar to combine into a temporary but unified mixture that coats your greens evenly rather than sliding right off them.
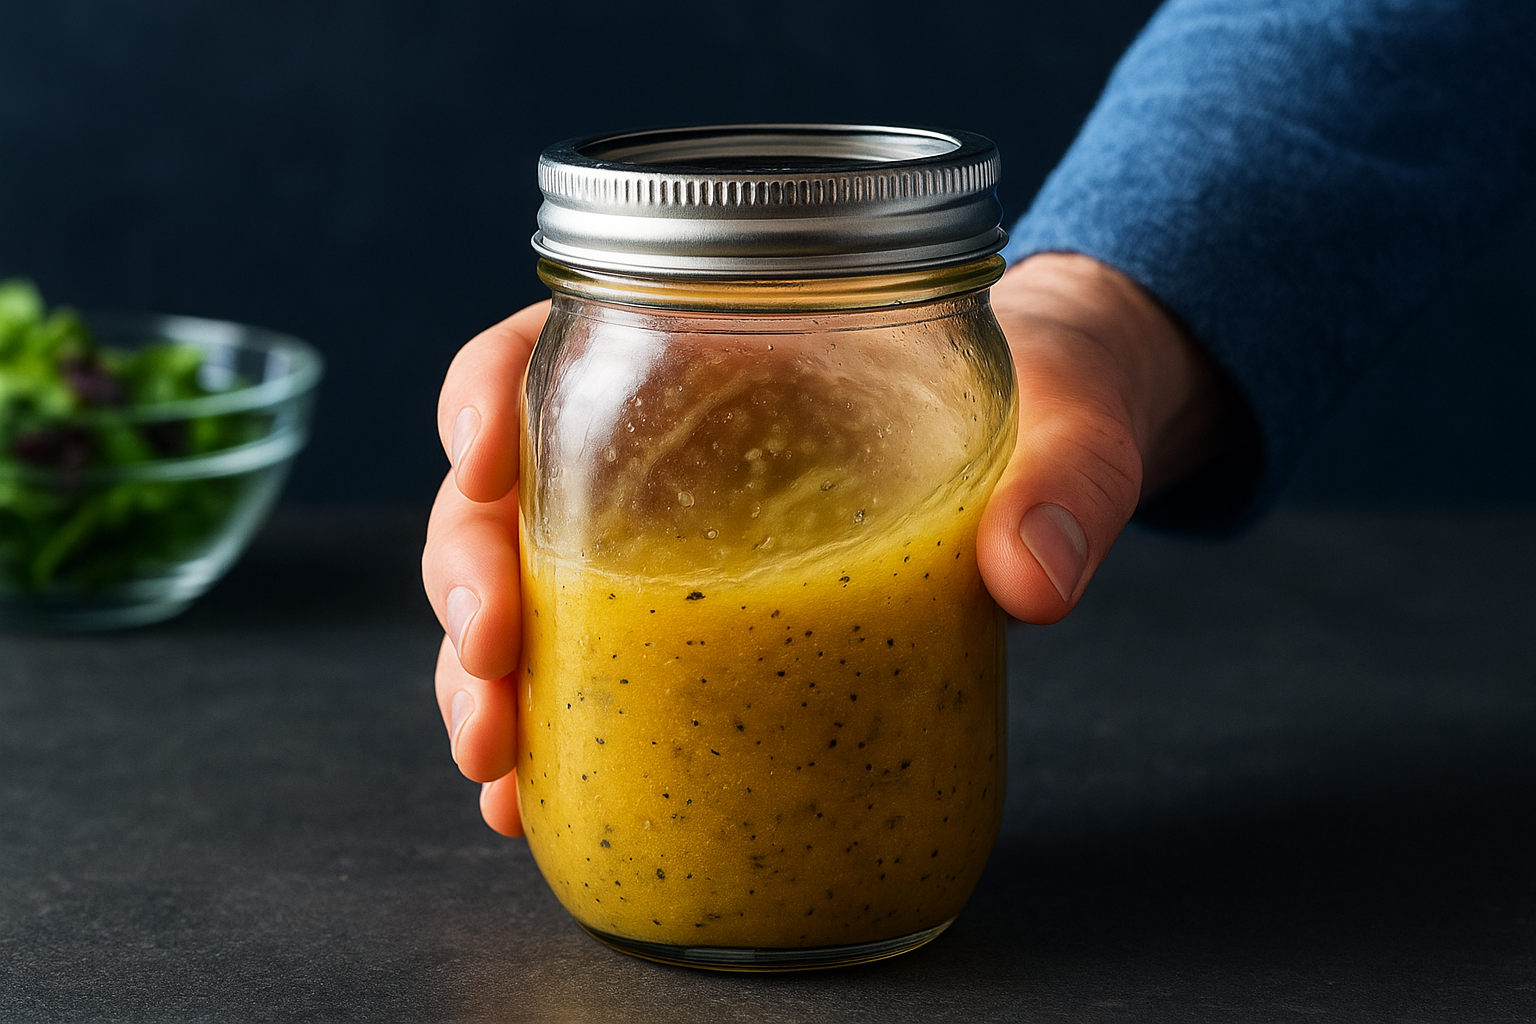
The jar method
The mason jar method is the easiest and most reliable way to emulsify Italian dressing at home. Add all your ingredients directly into the jar, seal the lid tightly, and shake hard for 30 to 45 seconds. The combination of the Dijon mustard and the mechanical force of shaking pushes the oil and vinegar molecules to break into tiny droplets that temporarily suspend together. You end up with a dressing that stays blended long enough to coat your salad without separating mid-toss.
Shake the jar for a full 30 seconds even if it looks blended after 10, the extra shaking gives you a more stable emulsion that holds together longer.
Use a jar with at least 8 ounces of capacity so the ingredients have room to move during shaking. A jar that’s too full reduces the agitation effect and leaves you with a dressing that separates in under a minute.
The whisk method
If you’re working with a bowl, pour your vinegar, mustard, minced garlic, and all the dry seasonings in first and whisk them together briefly. Then drizzle the olive oil in slowly while whisking constantly rather than dumping it all in at once. Adding the oil gradually gives the mustard time to grab onto each oil droplet and suspend it in the vinegar, which produces a smoother and more stable emulsion than you’d get by combining everything at the same time.
Keep whisking for about 60 seconds after all the oil is incorporated. The dressing should look slightly thicker, more uniform in color, and should coat the back of a spoon without running straight off. That’s how you know the emulsification worked and your dressing is ready for the next step in learning how to make Italian salad dressing the right way.
Step 3. Taste, tweak, and customize
Once the dressing is emulsified, dip a clean spoon into it and taste before you pour it over anything. This is the most overlooked step in learning how to make Italian salad dressing properly. Your ingredients vary in intensity depending on the brand, how fresh the dried herbs are, and the strength of your garlic, so tasting and adjusting is not optional if you want consistent results every time.
Adjusting the balance
The two most common fixes are acid and salt. If the dressing tastes flat or dull, it almost always needs more vinegar or more salt, not more oil. Add your vinegar in small increments of about 1/4 teaspoon at a time, shake or whisk again, and retaste before adding more. If the dressing is too sharp or biting, add a few extra drops of oil or a small pinch of honey to bring the acidity back into balance.
Adjust acidity and salt in small increments rather than large pours, because a single teaspoon too much vinegar can throw off the whole batch.
If the dressing tastes thin on herbal flavor, rub another small pinch of dried oregano between your fingers and stir it in. Let the dressing sit for two minutes after adjusting, then taste again. The herbs need a brief resting period to release their oils into the vinegar, so the taste you get immediately after adding them won’t fully reflect the final result. Give it time before you decide it needs more.
Customization options
The base recipe is a strong starting point, but small targeted additions can shift it in a completely different direction depending on what you’re serving it with. Each variation below keeps the core structure intact while changing a specific aspect of the flavor or texture:
- Add 1 tablespoon of lemon juice in place of half the vinegar for a brighter, citrus-forward finish
- Mix in 1/4 teaspoon of red pepper flakes if you want heat without changing the herb profile
- Stir in 2 tablespoons of grated Parmesan for a creamier, richer version that coats heartier greens like romaine well
- Use fresh basil instead of dried for a more fragrant, summery character
- Add 1 teaspoon of Worcestershire sauce for a deeper, savory undertone that pairs well with grilled proteins on the side
How to store and use Italian dressing
Once you nail how to make Italian salad dressing from scratch, the last thing you want is to let a batch go to waste. Homemade dressing has a shorter shelf life than store-bought versions because it contains no preservatives, but storing it correctly keeps it fresh and flavorful for longer than most people expect.
Storing the dressing properly
Transfer the finished dressing into a clean glass jar or airtight container and refrigerate it immediately after making. Cold storage slows down any degradation of the fresh garlic and keeps the olive oil from turning rancid. Your homemade Italian dressing will stay good in the fridge for up to two weeks as long as the container seals well and you use a clean spoon or pour spout every time you access it.
Homemade Italian dressing with fresh garlic should never sit at room temperature for more than two hours, as garlic submerged in oil can create food safety issues over time.
One thing to expect is that the olive oil will solidify slightly when chilled. That’s normal. Pull the jar from the fridge about five minutes before you need it, give it a hard shake, and the dressing returns to its liquid consistency quickly. If you used garlic powder instead of fresh garlic, you get the same two-week window with no food safety concerns tied to the oil.
Ways to use it beyond salad
Most people pour Italian dressing over greens and stop there, but the recipe works well in several other situations. Using it as a marinade for chicken, shrimp, or vegetables before grilling produces excellent results because the acid in the vinegar tenderizes the protein while the herbs infuse flavor throughout. Coat your protein, cover it, and let it sit in the fridge for at least 30 minutes before cooking.
Here are a few more uses that work well with a standard batch:
- Pasta salad base: Toss with cooked rotini, olives, cherry tomatoes, and diced mozzarella
- Bread dip: Pour into a small dish and serve with a sliced Italian loaf
- Roasted vegetables: Drizzle over zucchini, bell peppers, or asparagus before roasting at 400°F
- Grain bowls: Dress farro or quinoa while still warm so the grains absorb the flavor
A simple wrap-up
Learning how to make Italian salad dressing from scratch comes down to three things: the right ratio, proper emulsification, and tasting as you go. Start with three parts oil to one part red wine vinegar, shake everything hard in a sealed jar, and adjust the seasoning until the balance feels right to you. Store it in the fridge for up to two weeks and use it beyond salad whenever the opportunity comes up.
That five-minute effort produces something noticeably better than anything that comes out of a bottle. Fresh ingredients and solid technique beat convenience every single time, and that principle runs through every level of Italian cooking.
If you want to experience that same commitment to quality at the table, visit La Dolce Vita Cucina in Chicago’s Portage Park neighborhood. Our kitchen brings authentic Italian flavors to every plate, from handmade pasta to house-made gelato.