
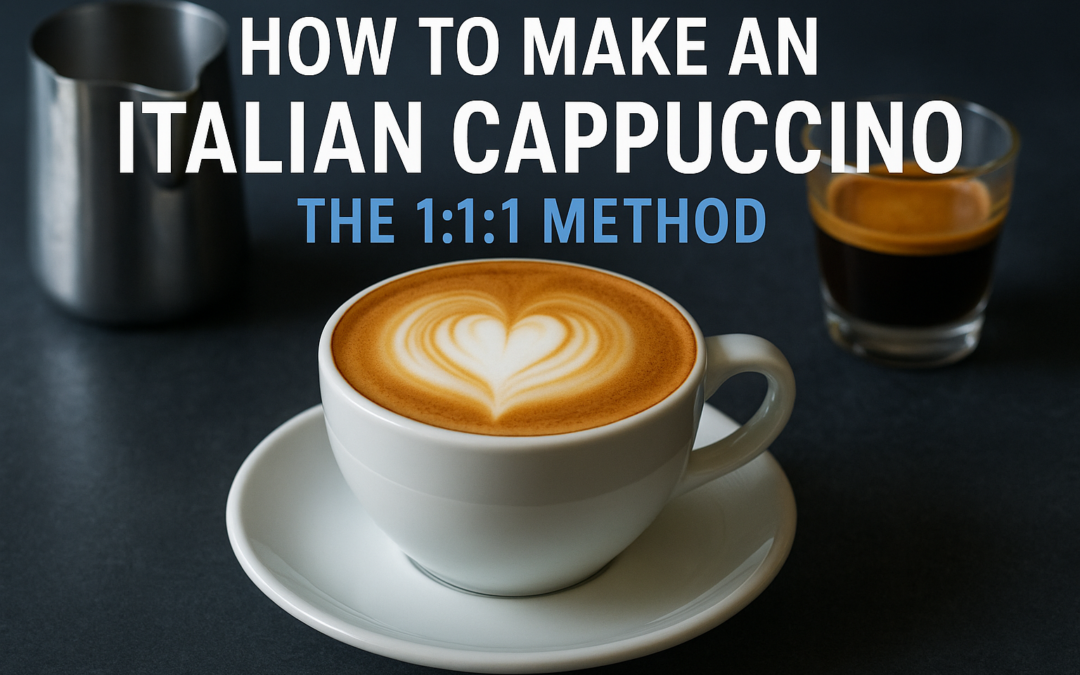
Most cappuccinos served outside of Italy get it wrong. They’re too large, too milky, or drowned in flavored syrup. If you’ve ever wondered how to make an Italian cappuccino the authentic way, it starts with understanding one simple rule: the 1:1:1 ratio of espresso, steamed milk, and foam. That balance is everything.
At La Dolce Vita Cucina, our kitchen in Chicago’s Portage Park neighborhood is built around getting Italian traditions right, from homemade pasta to the drinks we serve alongside it. Coffee is part of that culture. It’s not an afterthought. A proper cappuccino is a craft, and it follows specific techniques that Italian baristas have practiced for generations.
This guide breaks down the full method step by step. You’ll learn how to pull a solid espresso shot, steam milk to the right texture, and combine them into a cappuccino that actually tastes like something you’d drink in Rome. No special barista certification required, just the right approach and a little practice. By the end, you’ll know exactly what separates a genuine Italian cappuccino from the oversized, over-sweetened versions most people settle for.
What makes a cappuccino Italian
An Italian cappuccino is defined by proportion, not preference. Walk into any traditional bar in Italy and you’ll find a cappuccino that weighs around 150 to 180ml total, served in a pre-warmed ceramic cup. That’s roughly the size of a small coffee mug, not the 16oz cup most chain coffee shops hand you. The drink exists to deliver concentrated espresso flavor balanced with silky milk, not to fill you up. Italians treat it as a quick morning ritual, usually consumed standing at the counter in under five minutes.
An authentic Italian cappuccino is a morning drink. Italians rarely order one after 11am, and almost never after a meal.
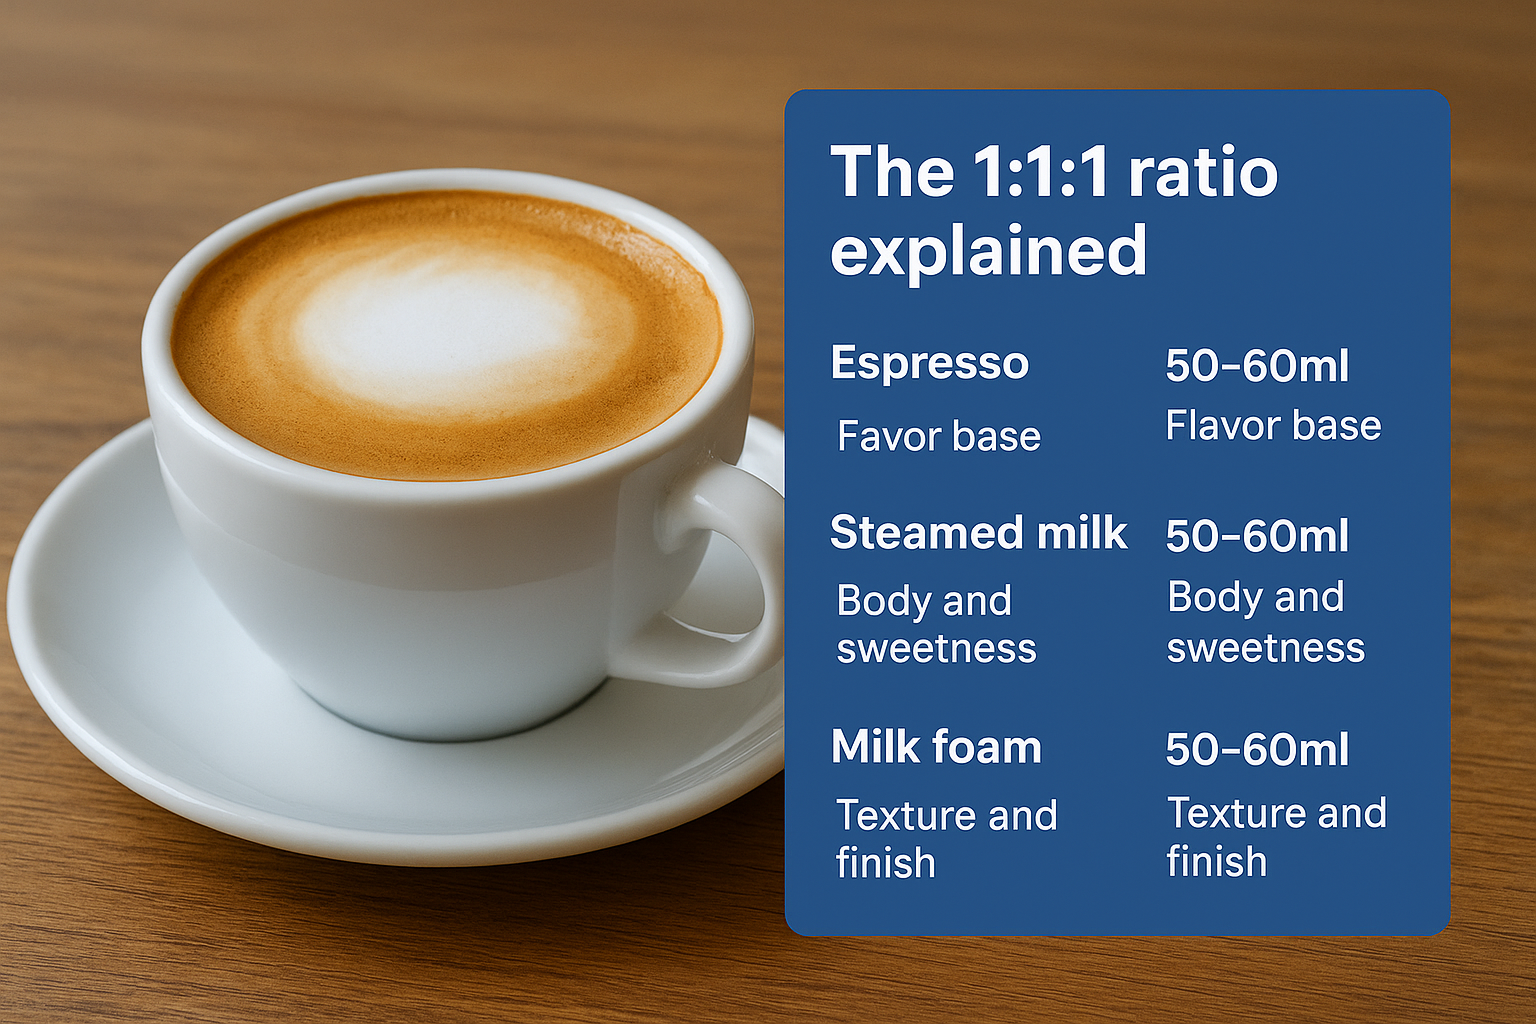
The 1:1:1 ratio explained
The ratio is straightforward: equal parts espresso, steamed milk, and milk foam. Each component typically measures about 50ml to 60ml. This balance is what separates a real cappuccino from a latte, which uses far more milk and very little foam. When you learn how to make an Italian cappuccino properly, this ratio is the first thing you need to lock in before anything else.
| Component | Volume | Role |
|---|---|---|
| Espresso | 50-60ml | Flavor base |
| Steamed milk | 50-60ml | Body and sweetness |
| Milk foam | 50-60ml | Texture and finish |
What an Italian cappuccino is not
Understanding what to avoid matters just as much as knowing what to do. Italian cappuccinos never contain flavored syrups, whipped cream from a can, or extra shots poured into an oversized cup. Your milk foam should be dense and velvety, sitting on top without separating or collapsing within seconds. If the foam looks bubbly or watery, the milk was steamed at the wrong temperature or for too long. The goal is a smooth, unified drink where each sip delivers all three layers at once without any single element overpowering the others.
Step 1. Pull a balanced espresso
A strong, balanced espresso is the foundation of how to make an Italian cappuccino correctly. You need 18 to 20 grams of finely ground coffee to pull a double shot that measures around 50 to 60ml in your cup. Use freshly ground beans whenever possible. Pre-ground coffee loses its volatile compounds quickly, and you’ll taste the difference immediately in a flat, thin shot.
Your espresso should taste rich and slightly bitter on its own, not sour or harsh. If it tastes off before you add milk, fix it first.
Dial in your extraction time
Your shot should pull in 25 to 30 seconds from the moment you press start. A shot that finishes under 20 seconds runs too fast, which means your grind is too coarse. One that drags past 35 seconds is too fine and will taste over-extracted and bitter. Aim for a reddish-brown crema sitting 3 to 5mm thick on top of the shot. That layer adds body and a mildly sweet finish that carries through the entire drink.
Use this as a quick reference when troubleshooting your pull:
| Symptom | Likely cause | Fix |
|---|---|---|
| Shot under 20 seconds | Grind too coarse | Grind finer |
| Shot over 35 seconds | Grind too fine | Grind coarser |
| Pale or thin crema | Stale beans | Use fresher coffee |
| Bitter, harsh taste | Over-extraction | Shorten brew time |
Step 2. Steam milk for microfoam
Whole milk gives you the best results when learning how to make an Italian cappuccino. Its fat content creates smooth, velvety foam that holds its shape without turning bubbly or watery. Pour cold milk into your steaming pitcher, filling it to just below the spout. Cold milk gives you more time to build proper texture before it overheats. You’re targeting a final temperature of 140 to 150°F (60 to 65°C), warm enough to drink comfortably without scalding the milk and destroying its natural sweetness.
If your milk smells slightly cooked or tastes flat after steaming, you overheated it. Start over with fresh cold milk.
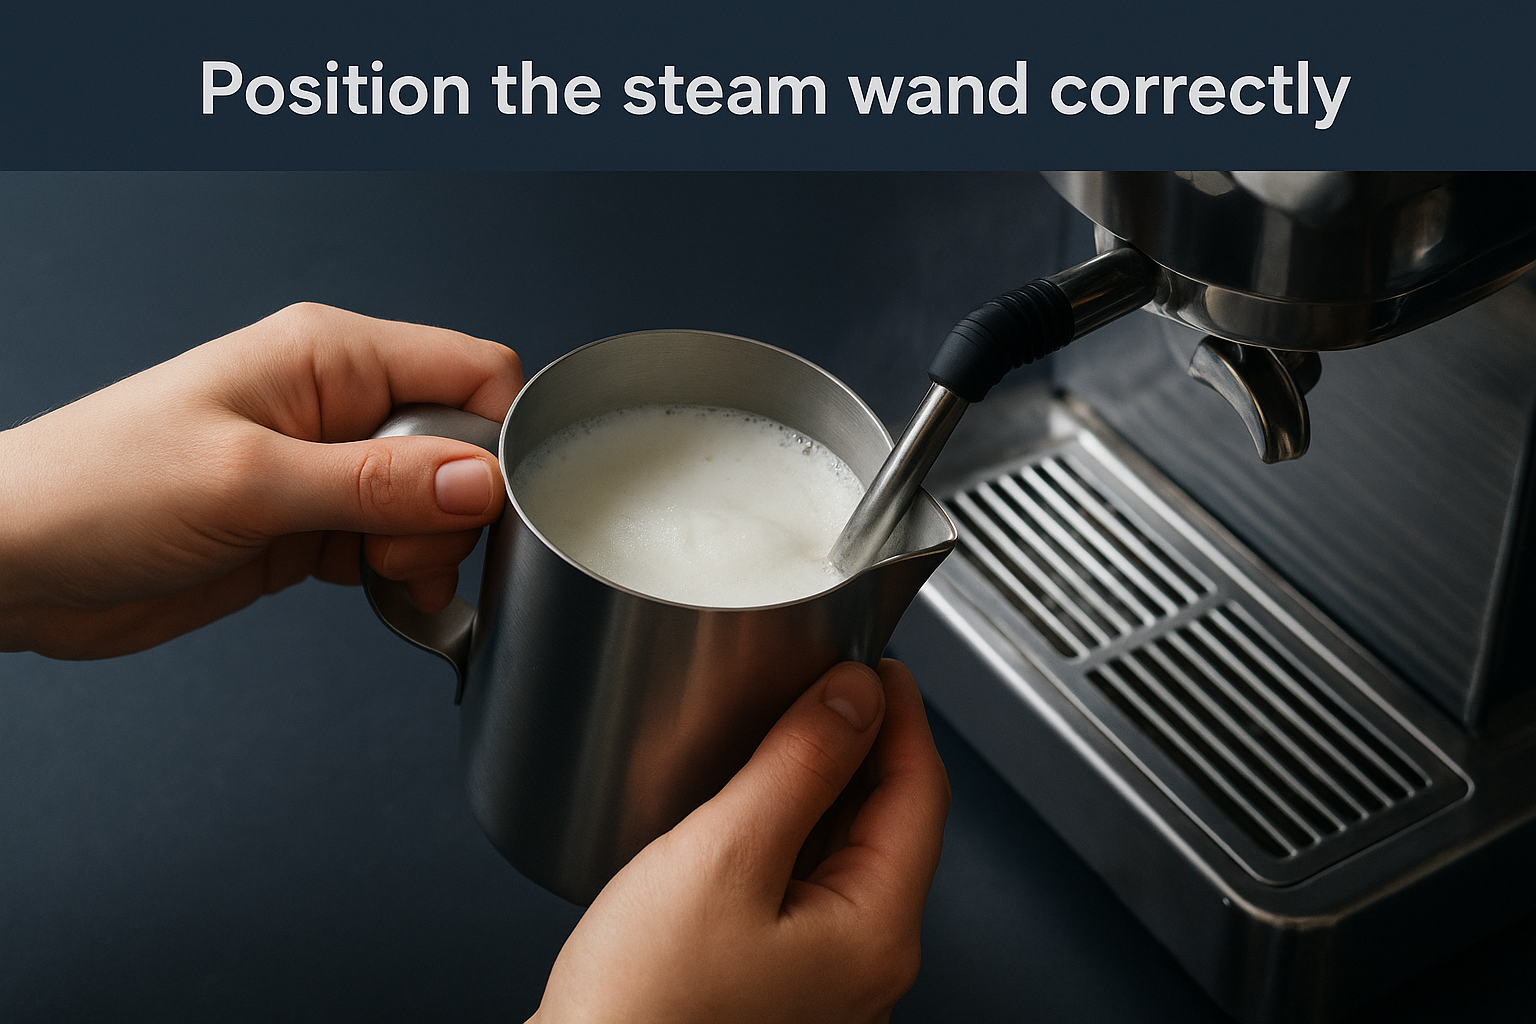
Position the steam wand correctly
Place the wand tip just below the surface of the milk at a slight angle, not straight down. This creates a gentle whirlpool that incorporates air evenly throughout the liquid. In the first few seconds, you’ll hear a soft hissing sound as the surface stretches and thickens. Once the foam starts building, lower the pitcher slightly to submerge the wand tip deeper and heat the milk through. Stop the moment the pitcher base feels too hot to hold for more than two seconds.
| Stage | Temperature | What you notice |
|---|---|---|
| Start | Cold (38°F) | Hissing, surface stretching |
| Mid | 100-120°F | Foam building, whirlpool forming |
| Stop | 140-150°F | Pitcher too hot to hold |
Step 3. Pour the 1:1:1 cappuccino
Before you pour anything, warm your cup with hot water from the machine or a kettle. A cold ceramic cup drops the temperature of your drink within seconds, and you’ll lose the smooth, rounded flavor before you reach the halfway point. Discard the water, then add your espresso shot first as the base. This sequence is not optional.
A pre-warmed cup keeps your cappuccino at the right drinking temperature from the first sip to the last.
Build the layers in the right order
Understanding how to make an Italian cappuccino correctly means following the pour sequence without shortcuts. After your espresso sits in the warmed cup, tilt the pitcher slightly and pour the steamed milk in a slow, controlled stream aimed at the center. The heavier liquid falls through the espresso and blends naturally without any stirring required.
| Pour order | Component | Target volume |
|---|---|---|
| First | Espresso | 50-60ml |
| Second | Steamed milk | 50-60ml |
| Third | Milk foam | 50-60ml |
Finish with the foam layer
Once the cup sits about two-thirds full, stop pouring and spoon or gently pour your dense foam on top. Your foam should form a small raised dome above the rim that holds its shape for at least 60 seconds. If it collapses immediately, your milk needed more time to build proper texture during steaming.
Fix common cappuccino problems
Even when you follow every step, something can still go wrong. Most issues with how to make an Italian cappuccino trace back to one of three areas: espresso extraction, milk temperature, or pour timing. Catching the problem early saves you from dumping the whole drink and starting over.
Fix each variable one at a time. Changing two things at once makes it impossible to know which adjustment actually worked.
Quick fixes for the most frequent mistakes
The table below covers the problems you’re most likely to run into and exactly what to do about each one:
| Problem | Cause | Fix |
|---|---|---|
| Foam collapses fast | Milk overheated or under-aerated | Use colder milk, keep wand closer to surface at start |
| Layers separate in cup | Milk poured too fast | Slow your pour and tilt the pitcher lower |
| Espresso tastes sour | Under-extracted shot | Grind finer or extend brew time by 3 to 5 seconds |
| Drink cools too fast | Cold cup | Pre-warm your cup with hot water before pouring |
| Foam is bubbly, not silky | Wand too deep from the start | Position tip just below the surface for the first few seconds |
Tracking these issues against a specific cause stops you from guessing. Work through the list one fix at a time until your cappuccino holds together from first pour to last sip.

Final sip
Now you have everything you need to know about how to make an Italian cappuccino at home. The method comes down to three controlled steps: a well-extracted espresso, properly steamed whole milk, and a patient pour that respects the 1:1:1 ratio. None of it requires expensive equipment or years of practice. What it requires is attention to each variable and a willingness to adjust when something goes wrong.
Start with the ratio. Get your espresso dialed in first, then work on your milk texture. Each attempt teaches you something new about your equipment, your beans, and your technique. Your first cappuccino won’t be perfect, and that’s expected. By your fifth or sixth attempt, the process starts to feel natural.
If you want to experience what a properly balanced Italian cappuccino tastes like in person, come see us at La Dolce Vita Cucina in Chicago’s Portage Park neighborhood, where we take Italian food and drink as seriously as they do in Italy.