
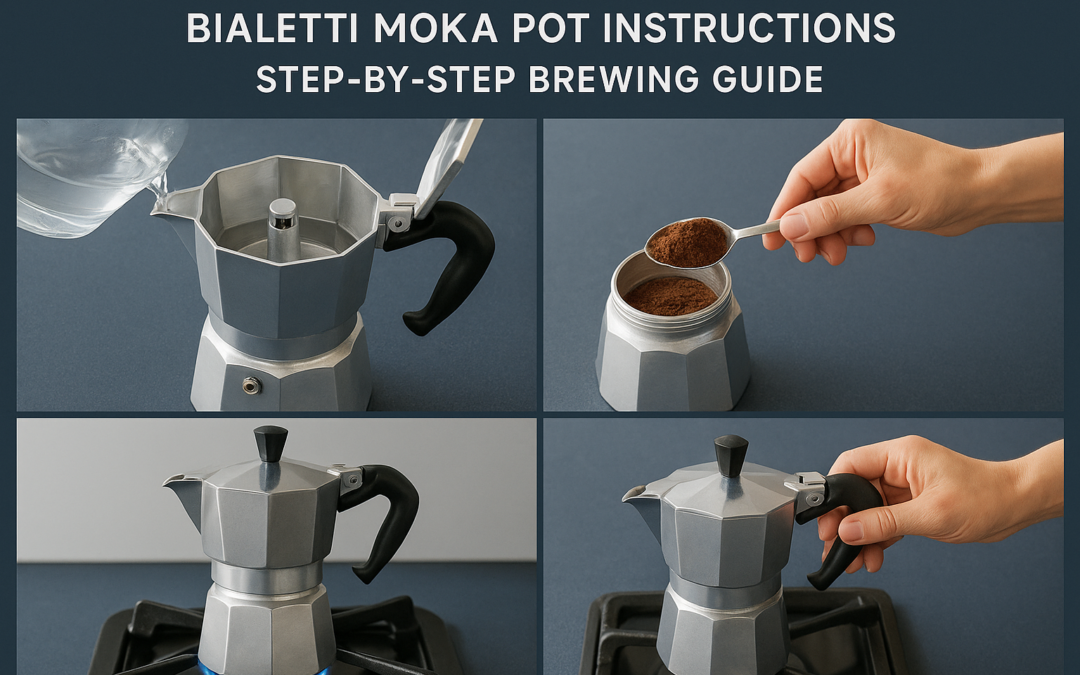
The moka pot is as essential to an Italian kitchen as olive oil and good bread. At La Dolce Vita Cucina, our love for Italian tradition runs through everything we do, from the homemade pasta we serve in Portage Park to the coffee rituals that inspired our approach to hospitality. That’s exactly why we put together these Bialetti moka pot instructions: so you can bring a piece of that authentic Italian experience into your own home.
Brewing with a moka pot isn’t complicated, but small details make the difference between a rich, smooth cup and a bitter, burnt one. Getting the grind size right, managing the heat, and knowing when to pull the pot off the stove, these steps matter. And once you nail them, you’ll understand why millions of Italian households have relied on this simple stovetop brewer for nearly a century.
This guide walks you through everything from your first seasoning run to daily brewing, proper ratios, and long-term care. Whether you just unboxed a brand-new Bialetti or you’re troubleshooting a pot you’ve owned for years, you’ll find clear, practical answers below, no guesswork, no unnecessary fuss.
What to know before you use a Bialetti moka pot
Before you follow any Bialetti moka pot instructions, it helps to understand how the pot actually works. The moka pot brews coffee by pushing pressurized water vapor up through ground coffee in a basket, then into a collection chamber above. That process happens fast, so knowing the parts and your size options saves you from common mistakes right from the start.
The moka pot is not an espresso machine, but it produces a strong, concentrated brew that forms the base for many classic Italian coffee drinks.
The anatomy of a Bialetti moka pot
A standard Bialetti breaks into three main chambers: the bottom boiler where you add water, the middle filter basket where you load coffee grounds, and the top collection chamber where the finished brew collects. The rubber gasket and metal filter plate sit between the basket and the top, creating the seal that builds pressure during brewing. Inspect the gasket regularly because a worn or cracked gasket causes leaks and uneven extraction.
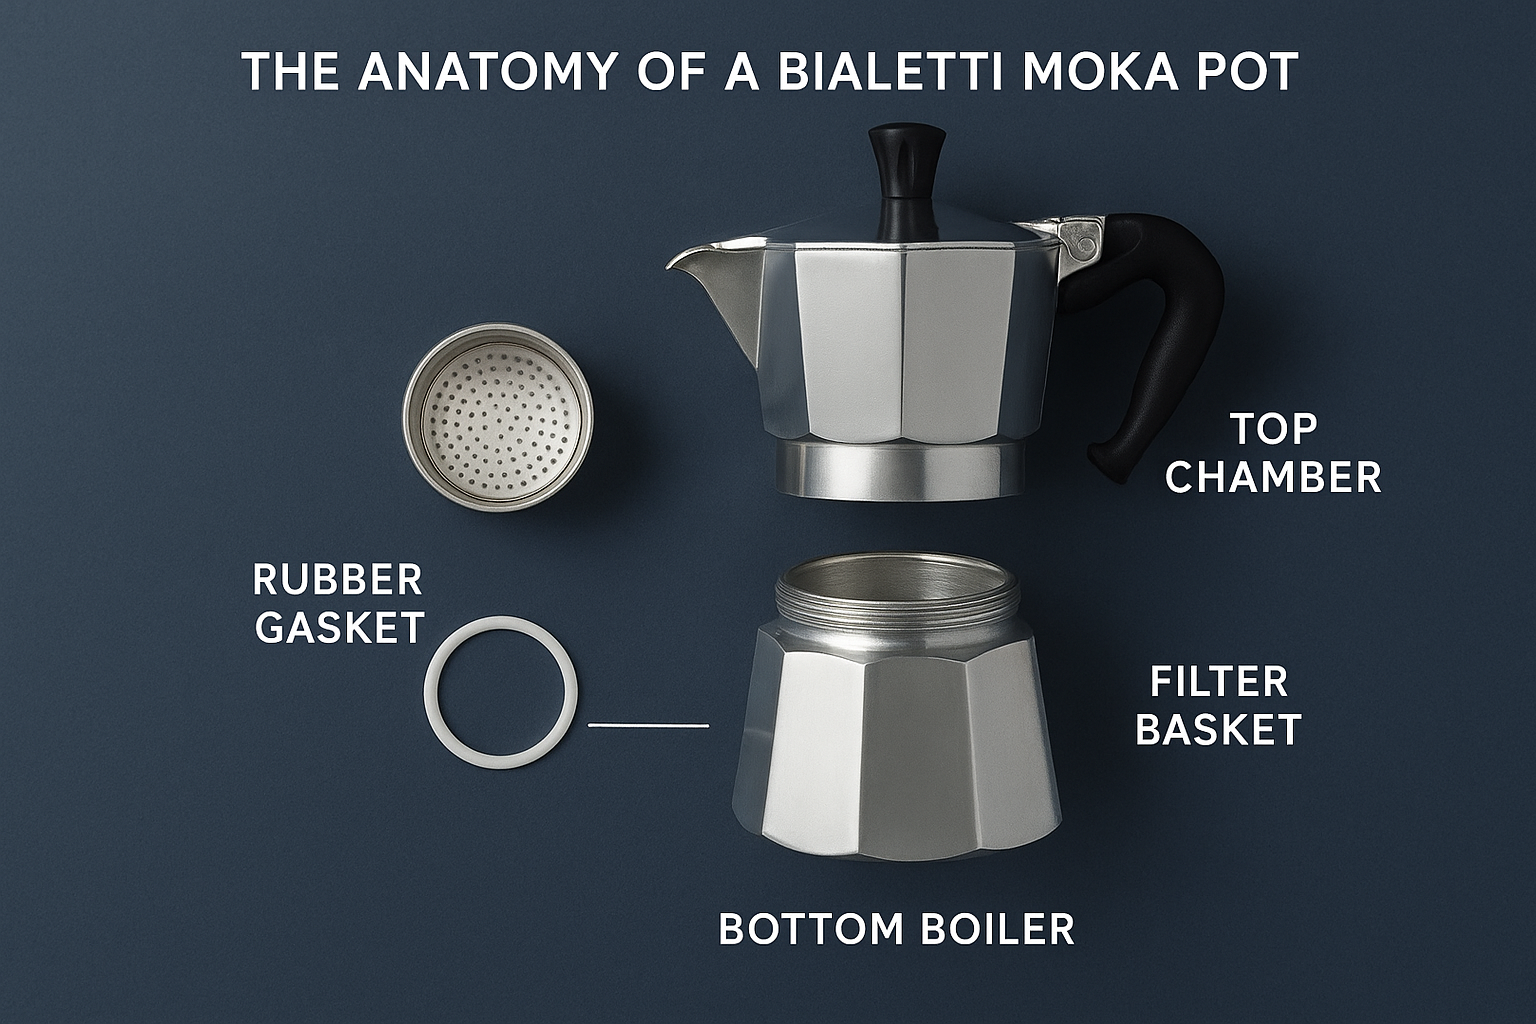
Here is a quick reference for each part:
| Part | Function |
|---|---|
| Bottom boiler | Holds water; never fill above the safety valve |
| Filter basket | Holds ground coffee |
| Top chamber | Collects brewed coffee |
| Rubber gasket | Creates the pressure seal |
Size and material considerations
Bialetti moka pots come in sizes measured by espresso cup capacity, typically ranging from 1-cup to 12-cup models. A 3-cup pot is one of the most practical choices for home use since it brews a solid amount without wasting coffee or water. You also choose between aluminum and stainless steel bodies. Aluminum heats quickly and is the traditional material used across Italian households, while stainless steel works on induction stovetops and resists corrosion over time. If you own an induction range, confirm you pick a stainless steel model before you start brewing.
Step 1. Prepare a new pot and measure water
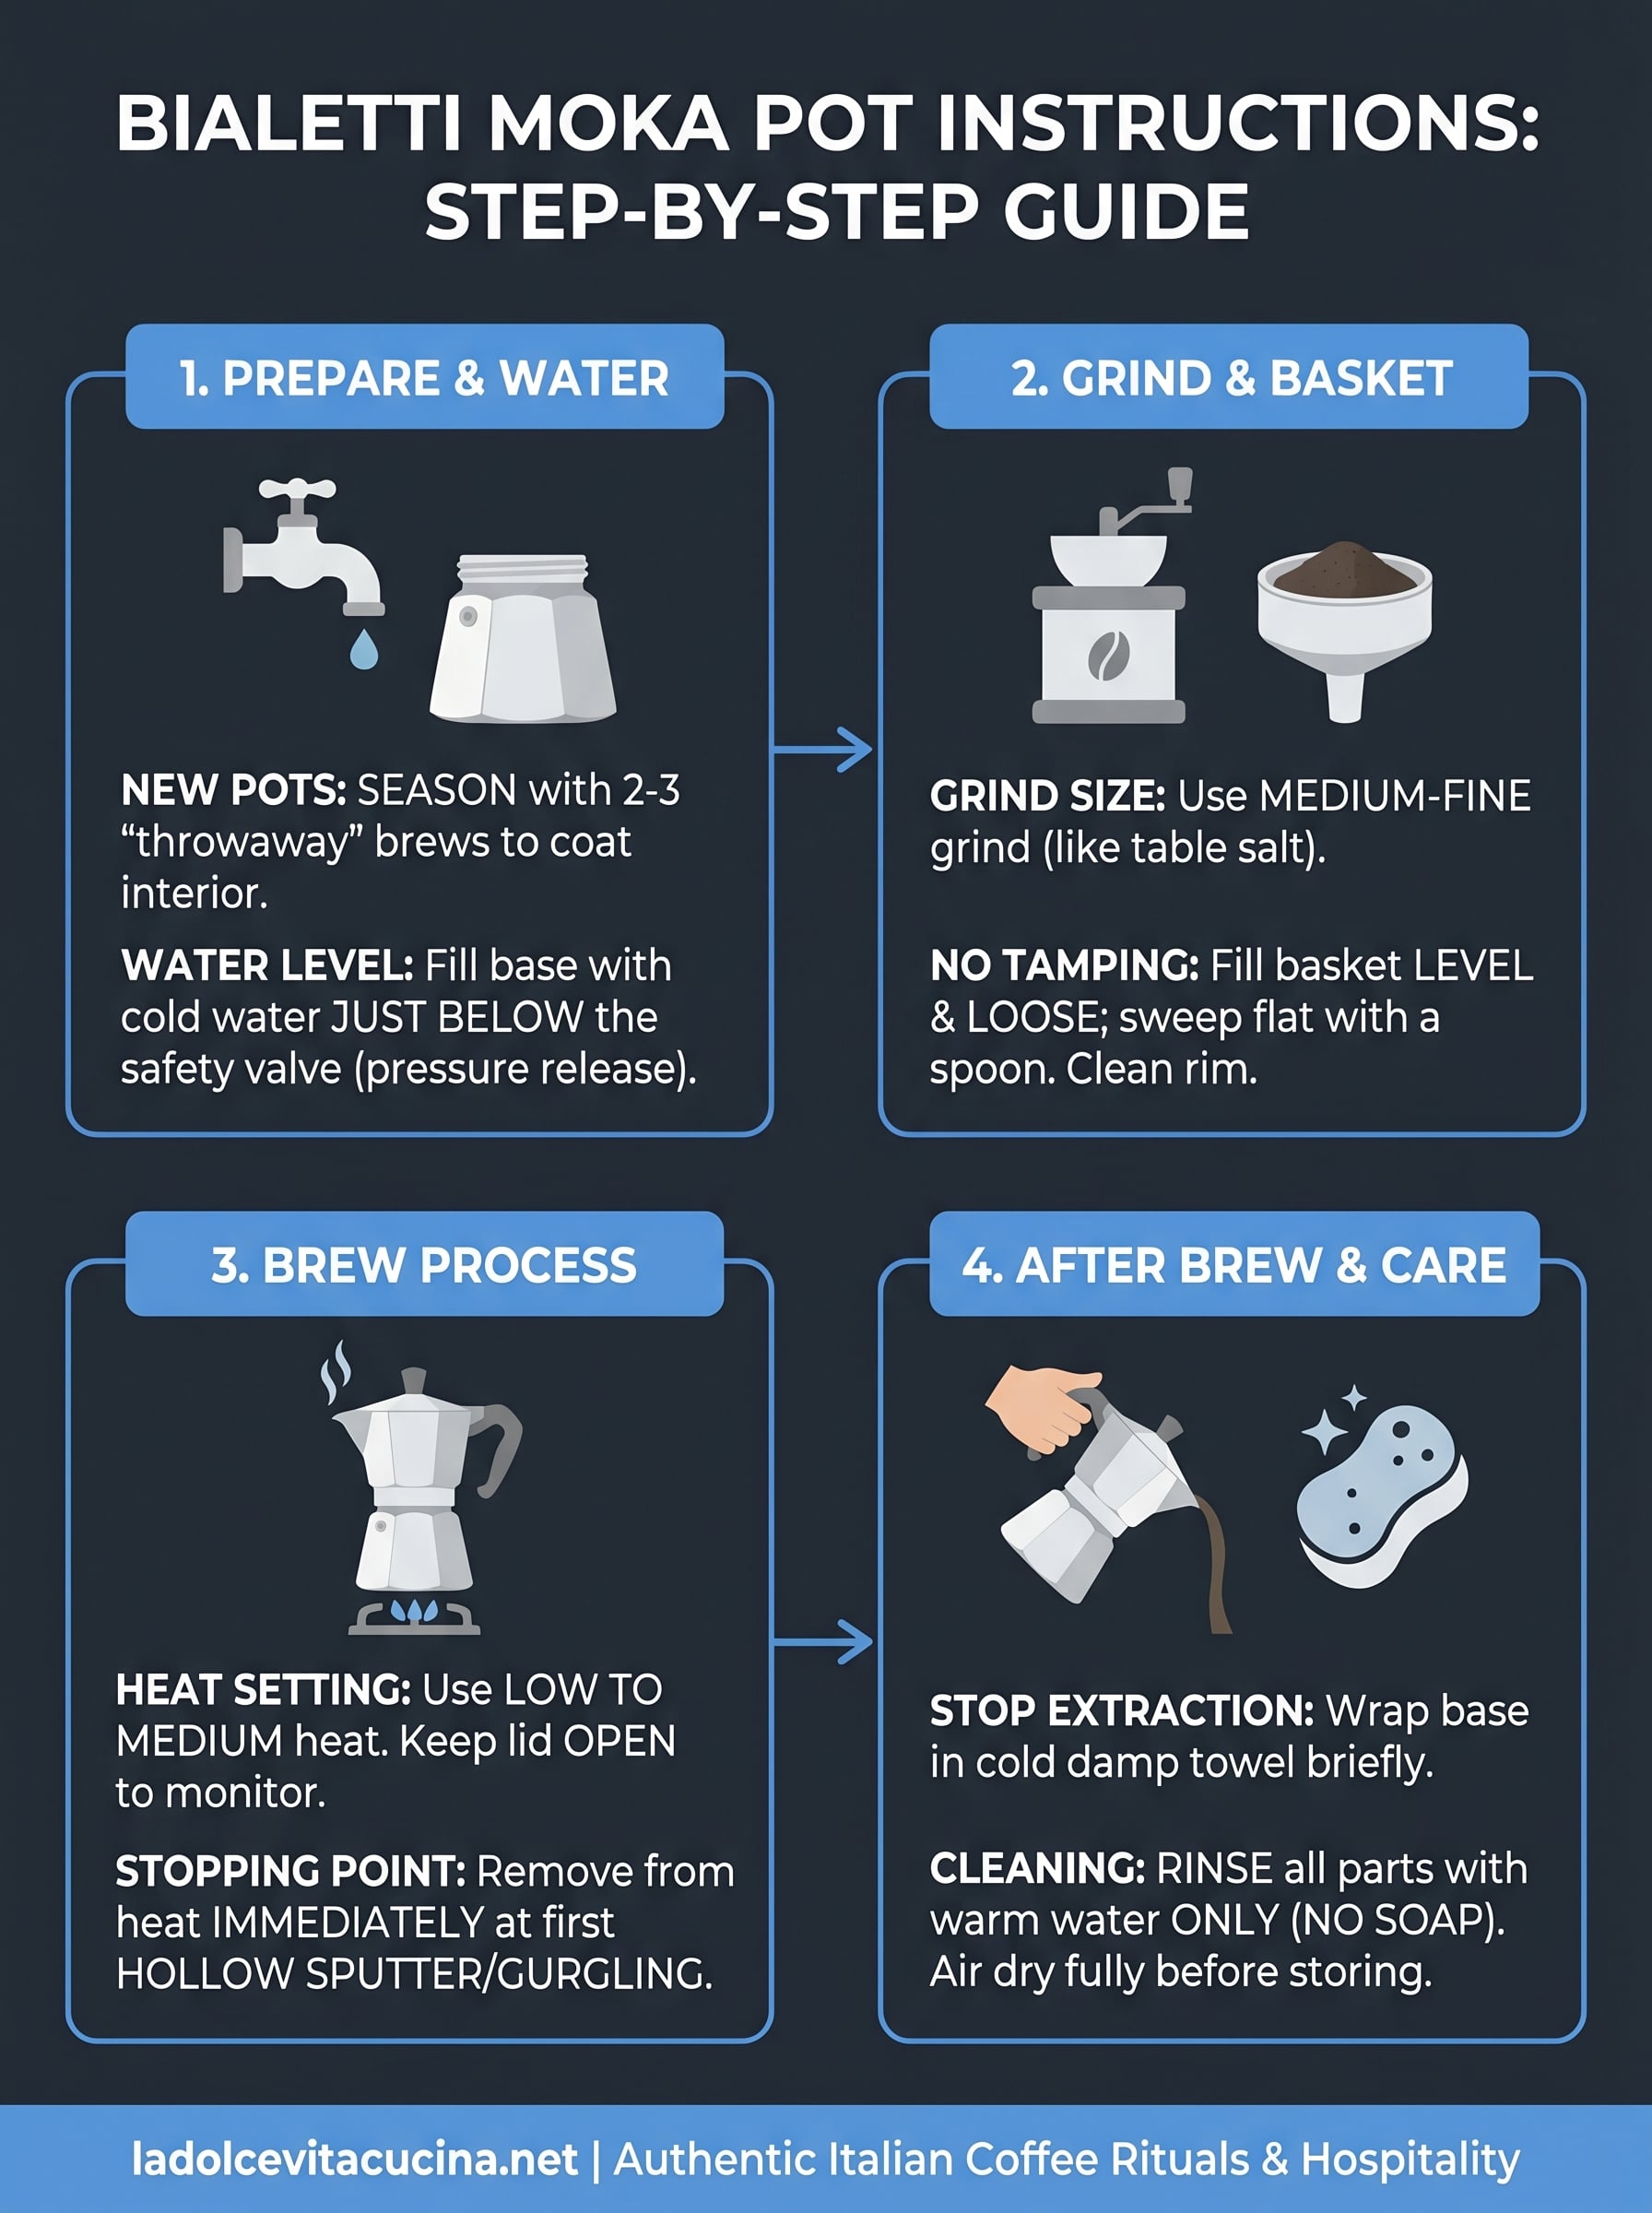
If your Bialetti is brand new, do not skip the seasoning step. Run two or three full brew cycles using cheap coffee and discard the results. This removes any metallic taste left over from manufacturing and coats the interior with a light coffee residue that improves flavor over time.
Never use soap inside the boiler or filter basket; plain water is all you need to rinse the pot between uses.
Season before your first real brew
Rinse each part under warm running water before you assemble the pot for seasoning cycles. Dry everything thoroughly, then reassemble. Running these throwaway brews takes about ten minutes total and makes a noticeable difference in the taste of your first real cup.
Fill the boiler to the correct level
Pour cold, filtered water into the bottom chamber until it sits just below the safety valve. That small metal valve is a pressure release mechanism, not a fill indicator. Overfilling it risks a weak, watery result.
Each Bialetti size has a set water capacity, so use the table below as your reference before every brew.
| Pot size | Approximate water |
|---|---|
| 1-cup | 60 ml |
| 3-cup | 150 ml |
| 6-cup | 300 ml |
Following these Bialetti moka pot instructions for water volume keeps pressure consistent and prevents the boiler from running dry mid-brew.
Step 2. Fill the basket with the right grind
The filter basket sits between the water chamber and the top collector, so what you put in it and how you fill it directly shapes your brew. Getting this step right is a core part of any solid set of Bialetti moka pot instructions, and it takes less than a minute once you know what to look for.
Choose the right grind size
Grind size determines how quickly water moves through the basket under pressure. Use a medium-fine grind, roughly similar to table salt in texture. Too fine and the water struggles to push through, building dangerous pressure. Too coarse and the brew comes out thin and under-extracted.
A grind meant for drip coffee is too coarse for a moka pot; aim for something slightly finer.
Here is a quick reference for grind outcomes:
| Grind size | Result |
|---|---|
| Too fine | Bitter, slow flow, pressure spike |
| Medium-fine | Rich, balanced extraction |
| Too coarse | Weak, watery, under-extracted |
Load the basket correctly
Fill the basket level and loose, which means no tamping. Use a small spoon to sweep the grounds flat across the top. Tamping compacts the grounds, which blocks water flow and pushes internal pressure too high. Before screwing on the top chamber, wipe the rim clean, because stray grounds there break the seal and cause leaking.
Step 3. Brew on low to medium heat
Heat is the variable that most Bialetti moka pot instructions overlook. Place the assembled pot on a burner set to low to medium heat and stay close. High heat causes the water to rush through the grounds too fast, scorching the coffee and producing a harsh, bitter result.
Keep the lid open while brewing so you can see exactly when the coffee starts flowing into the top chamber.
Watch for the right flow and know when to stop
You want a steady, golden-brown stream rising into the upper chamber, not a gurgling, sputtering eruption. A gurgling sound usually signals the heat is too high or the water is nearly gone. Pull the pot off the burner the moment you hear that hollow sputtering noise, before the last water forces through, which otherwise scorches the grounds sitting in the basket.
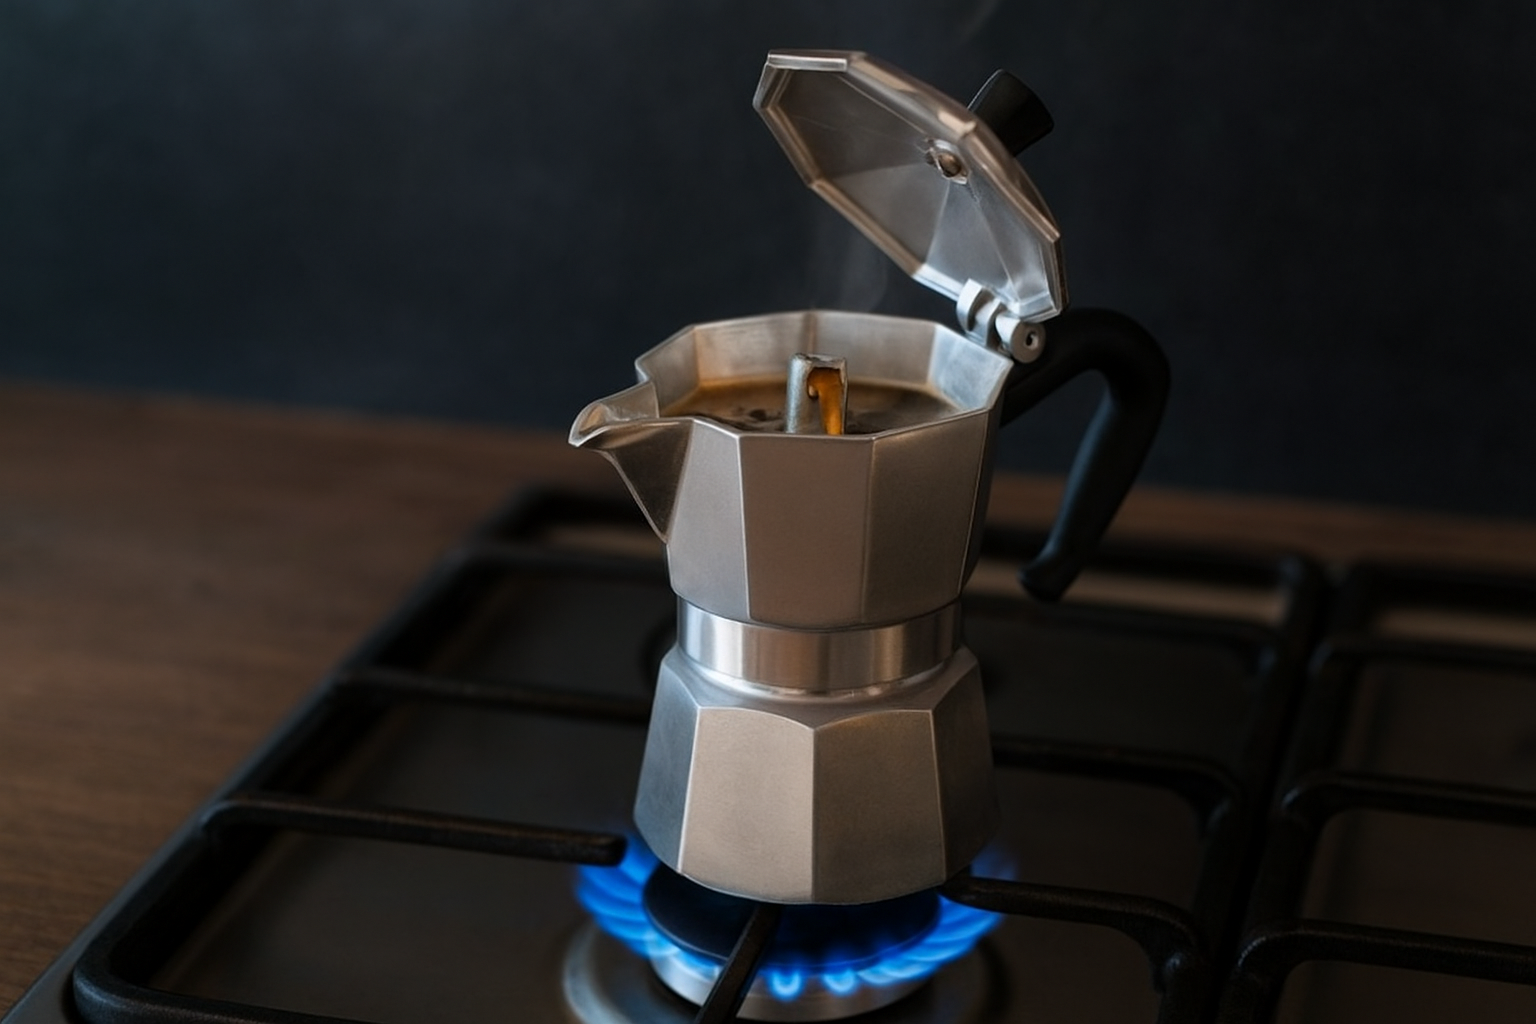
Use this quick reference to read what your pot is telling you during the brew:
| What you observe | What it means | What to do |
|---|---|---|
| Steady golden flow | Correct heat and grind | Maintain heat |
| Sputtering and gurgling | Heat too high or water low | Remove from heat immediately |
| No flow after 3 minutes | Heat too low or seal broken | Check gasket and raise heat slightly |
Step 4. Pour, troubleshoot, and clean the moka pot
Once coffee fills the top chamber, remove the pot from the heat immediately and pour into a warmed cup. Wrapping the bottom boiler briefly in a cold, damp kitchen towel stops the extraction and prevents residual heat from scorching the last drops of coffee still sitting in the basket.
Pouring too late, after the pot sits on the burner cooling down, leaves a bitter taste that no amount of milk or sugar can fix.
Fix common problems fast
Most issues with a moka pot come down to a handful of fixable causes. Use this table to quickly identify and correct the problem before your next brew.
| Problem | Likely cause | Fix |
|---|---|---|
| Bitter, harsh taste | Heat too high or grind too fine | Lower heat, coarsen grind slightly |
| Weak or watery result | Grind too coarse or basket underfilled | Use medium-fine grind, fill basket level |
| Leaking around the seal | Worn gasket or loose assembly | Replace gasket, tighten top chamber firmly |
Clean and store after every use
These Bialetti moka pot instructions close with the step most people skip: proper cleaning. Rinse all three parts under warm water after each brew and air dry them fully before storing. Leaving moisture trapped between the gasket and the metal rim breaks down the rubber faster and introduces off-flavors into your next cup.
Make your next cup even better
These Bialetti moka pot instructions give you everything you need to brew a consistent, flavorful cup every single time. Your biggest gains come from dialing in two variables: grind size and heat. Once those feel natural, experiment with single-origin beans roasted for espresso, or try pre-warming your top chamber with hot water before you start. You can also adjust the roast level toward medium-dark to find the balance of body and acidity that suits your taste.
Coffee brewed this way tastes best when you drink it slowly and intentionally, the way Italians have done for generations. The ritual matters just as much as the result. If you want to experience that same spirit of Italian hospitality beyond your own kitchen, visit La Dolce Vita Cucina in Chicago’s Portage Park neighborhood. Our team brings that same care and tradition to every dish and drink we serve, and we’d love to share it with you.